As an Interior Designer, planning, executing, and revealing the final design project to your clients is rewarding in so many ways. When you can use your creative knowledge and influence to change a space from drab to fab, it’s why any designer is in the business, regardless of the challenges. The many smiles our clients have when it’s all completed keeps us energized for the next project!
But what happens when the shoe is on the other foot and the designer becomes the client? What happens when the professional is faced with the dilemma of designing their own space and is suddenly frozen in fear of the many options they have to choose from to live with for years to come? It can be debilitating as I’m sure some of you who are professionals in the industry have felt when you were in the same situation. For a designer, designing their own space can be downright hard! For me, it was remodeling my own kitchen and looking at it not with just a designer’s eye, but my own eye with styles and finishes that I love and knew I would embrace for many years while still adding value down the road.
I had been considering moving closer to Howard Lake, MN, where Dura Supreme’s manufacturing and training facility is located. My 50-minute commute (one-way) was starting to wear on me, and I was looking to get out of my townhome and graduate to a house. It just so happened there was a new community being built by a national builder just 18 minutes from the office, and because the pandemic slowed so much building down, they had reduced the costs of some of the initial homes. The location was perfect for me, and the home itself was thoughtful in its design and energy efficiencies with low maintenance needed.
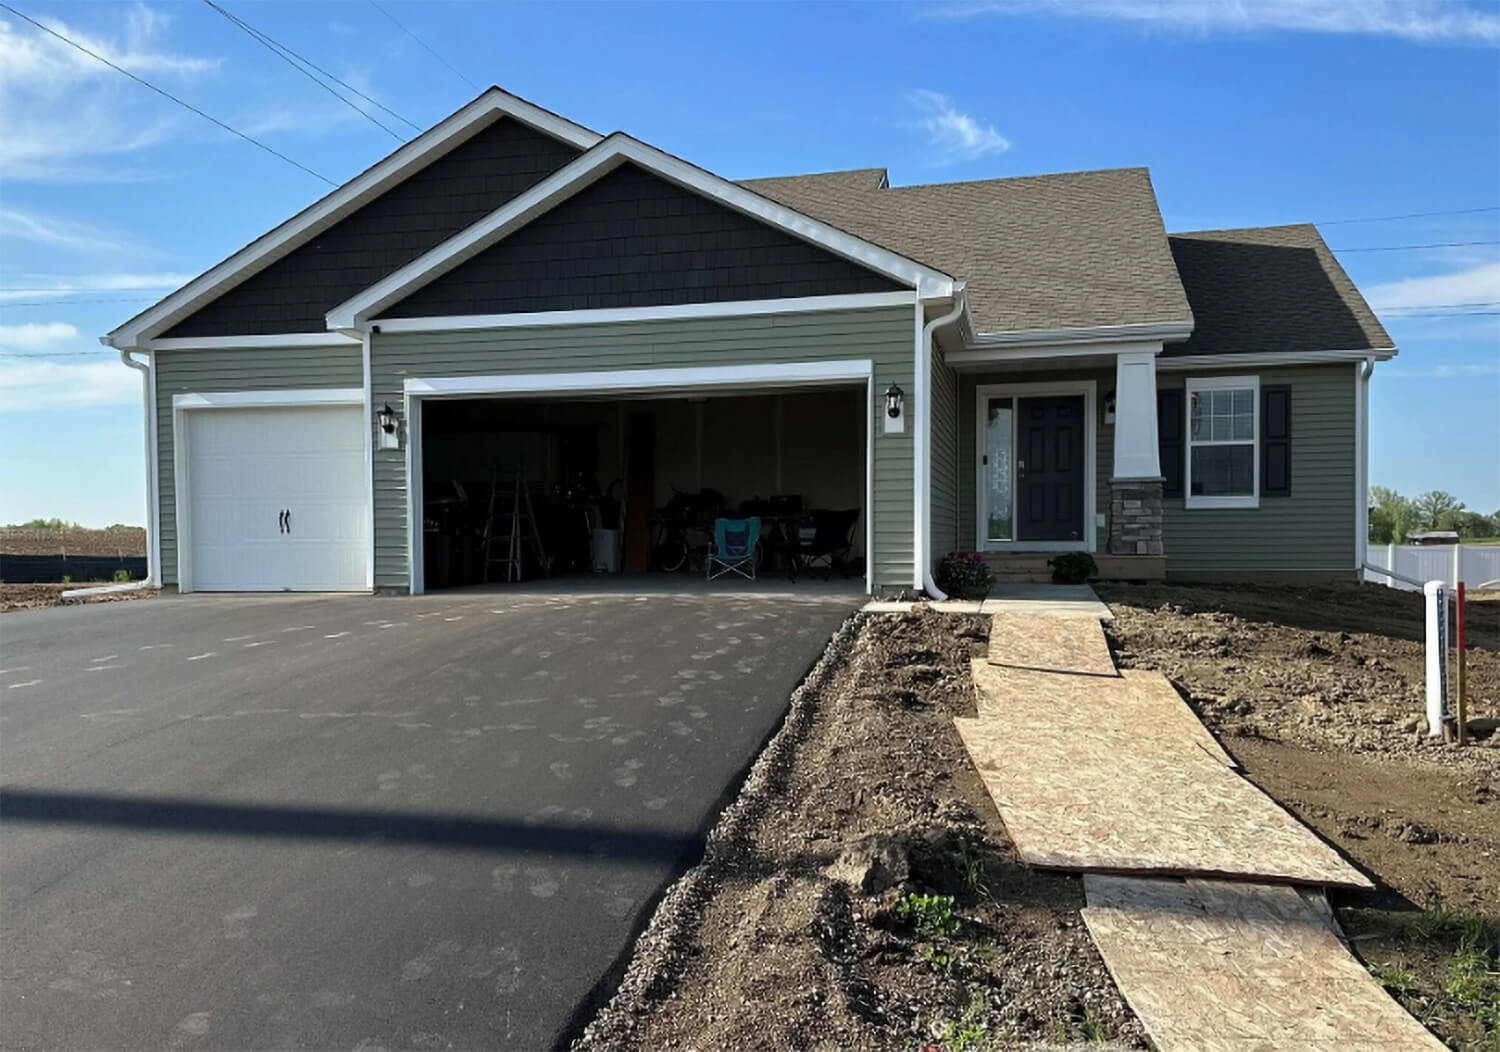
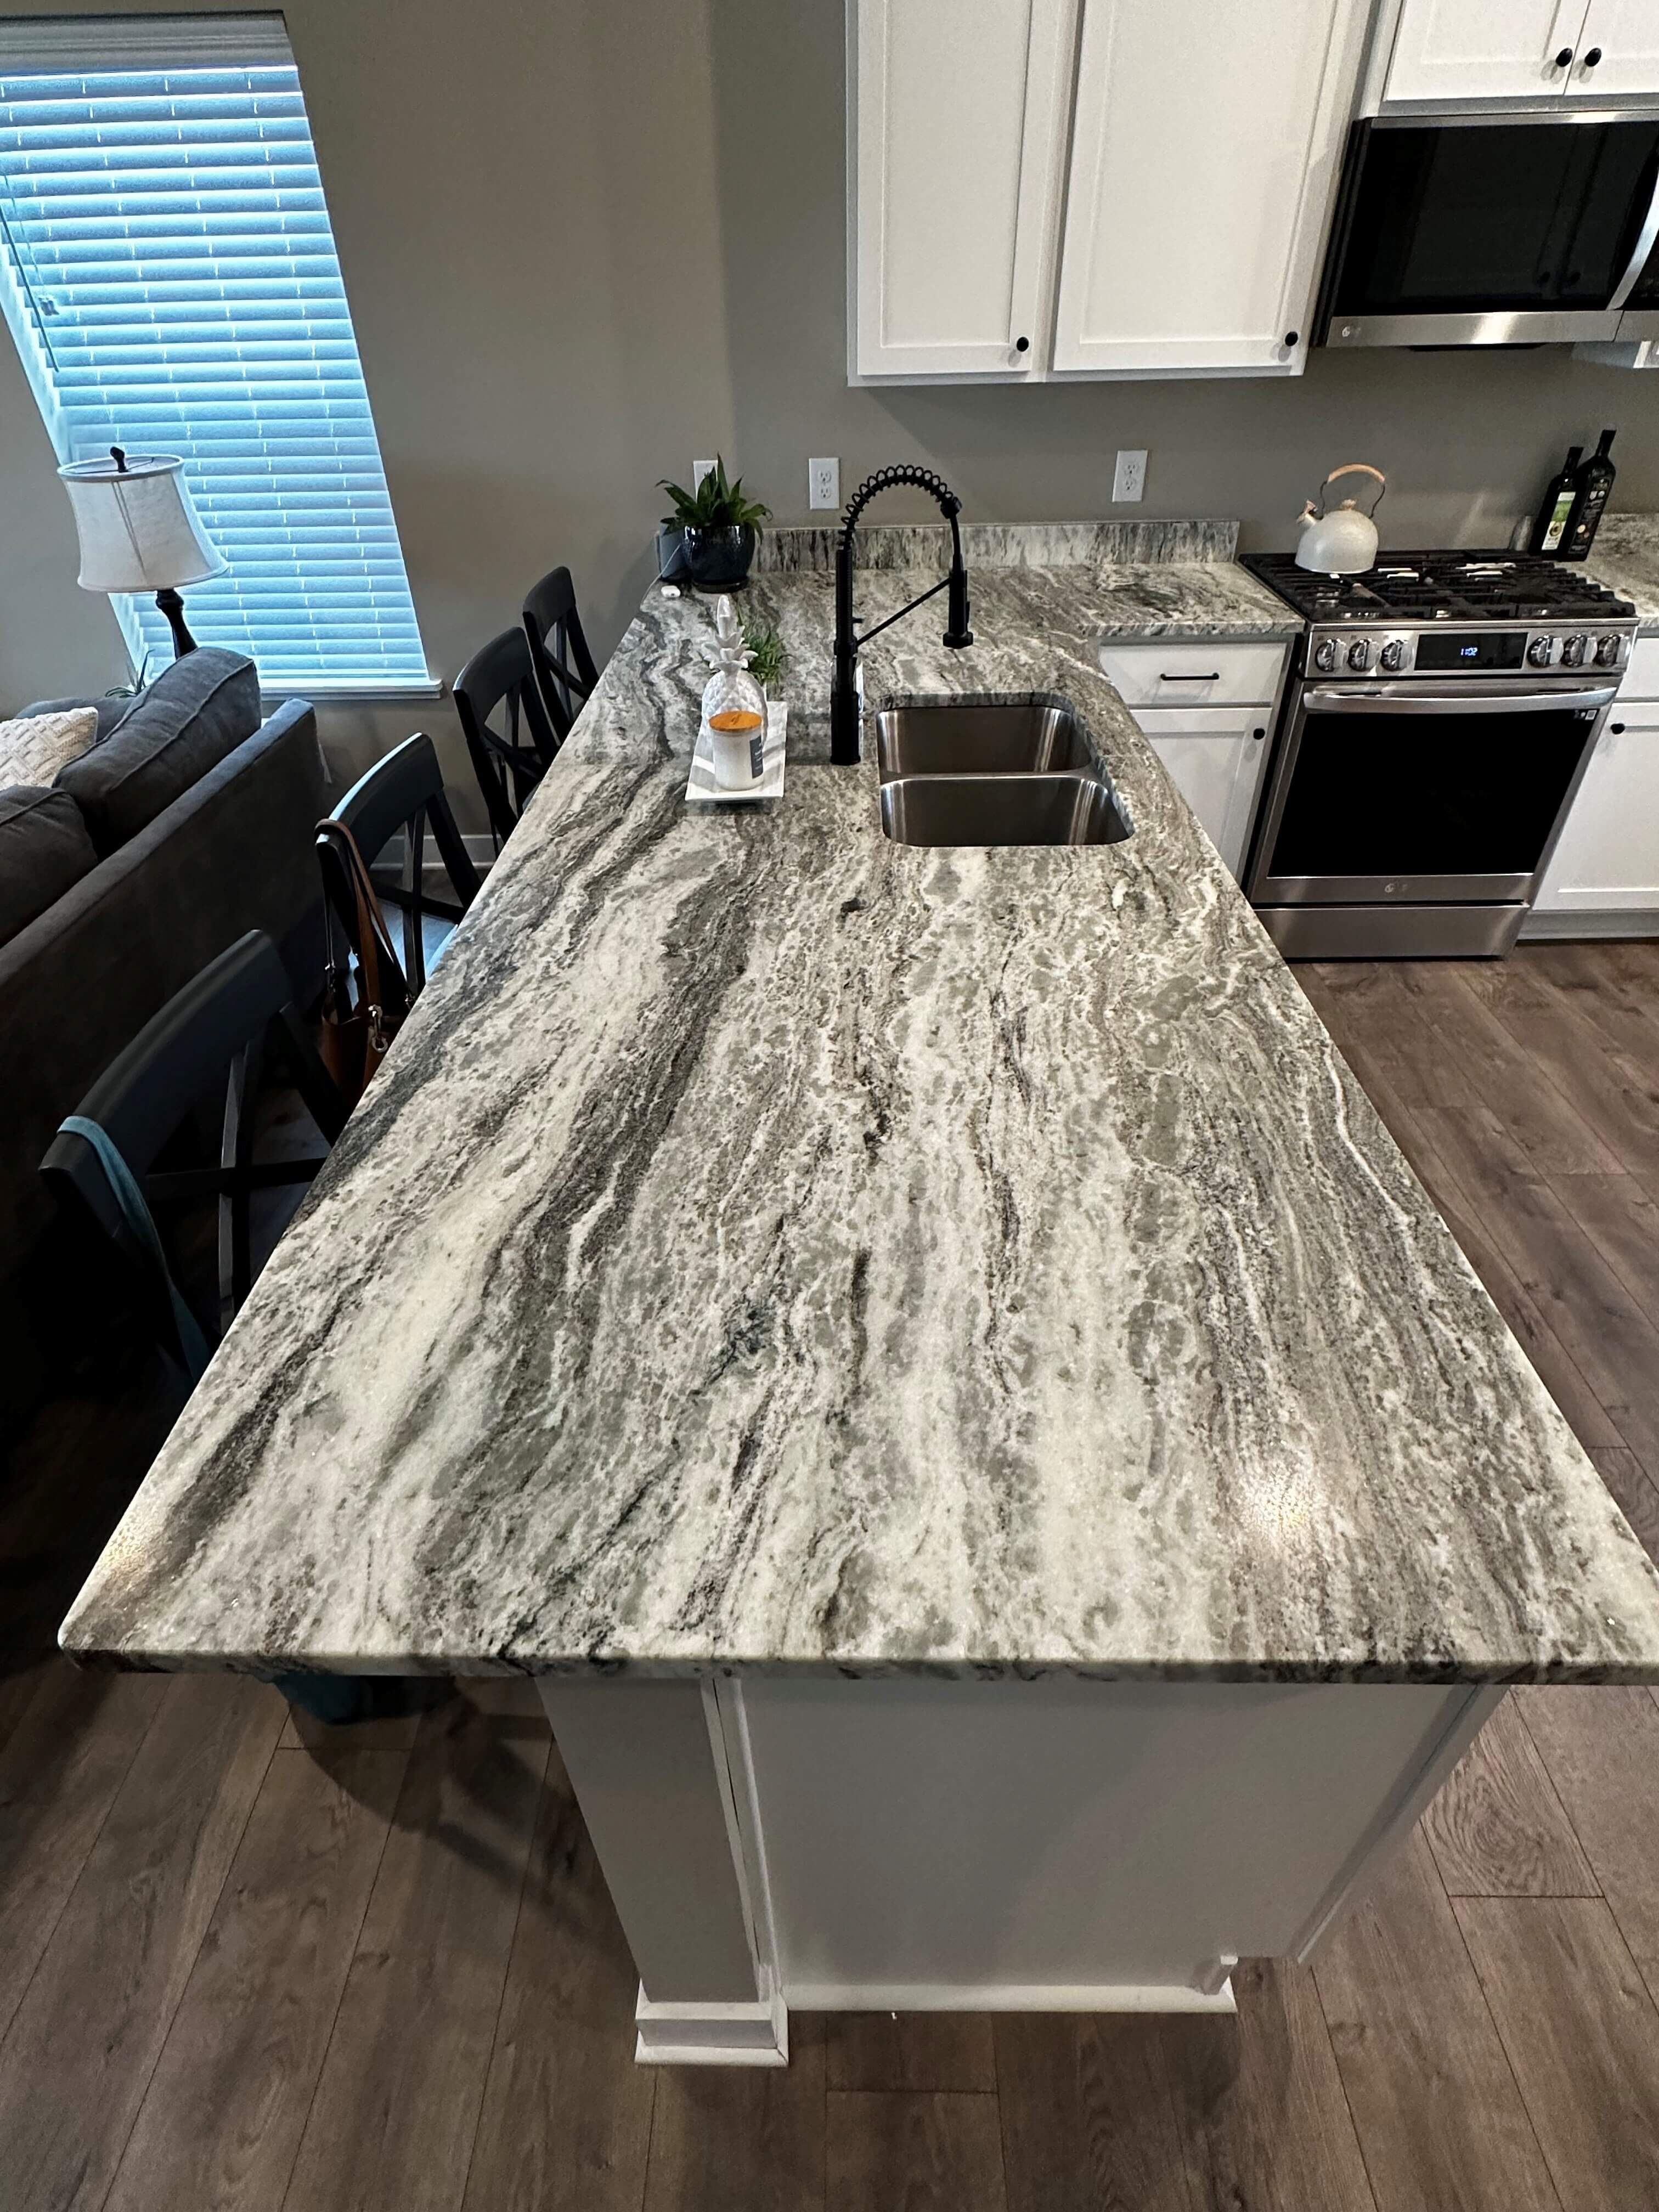
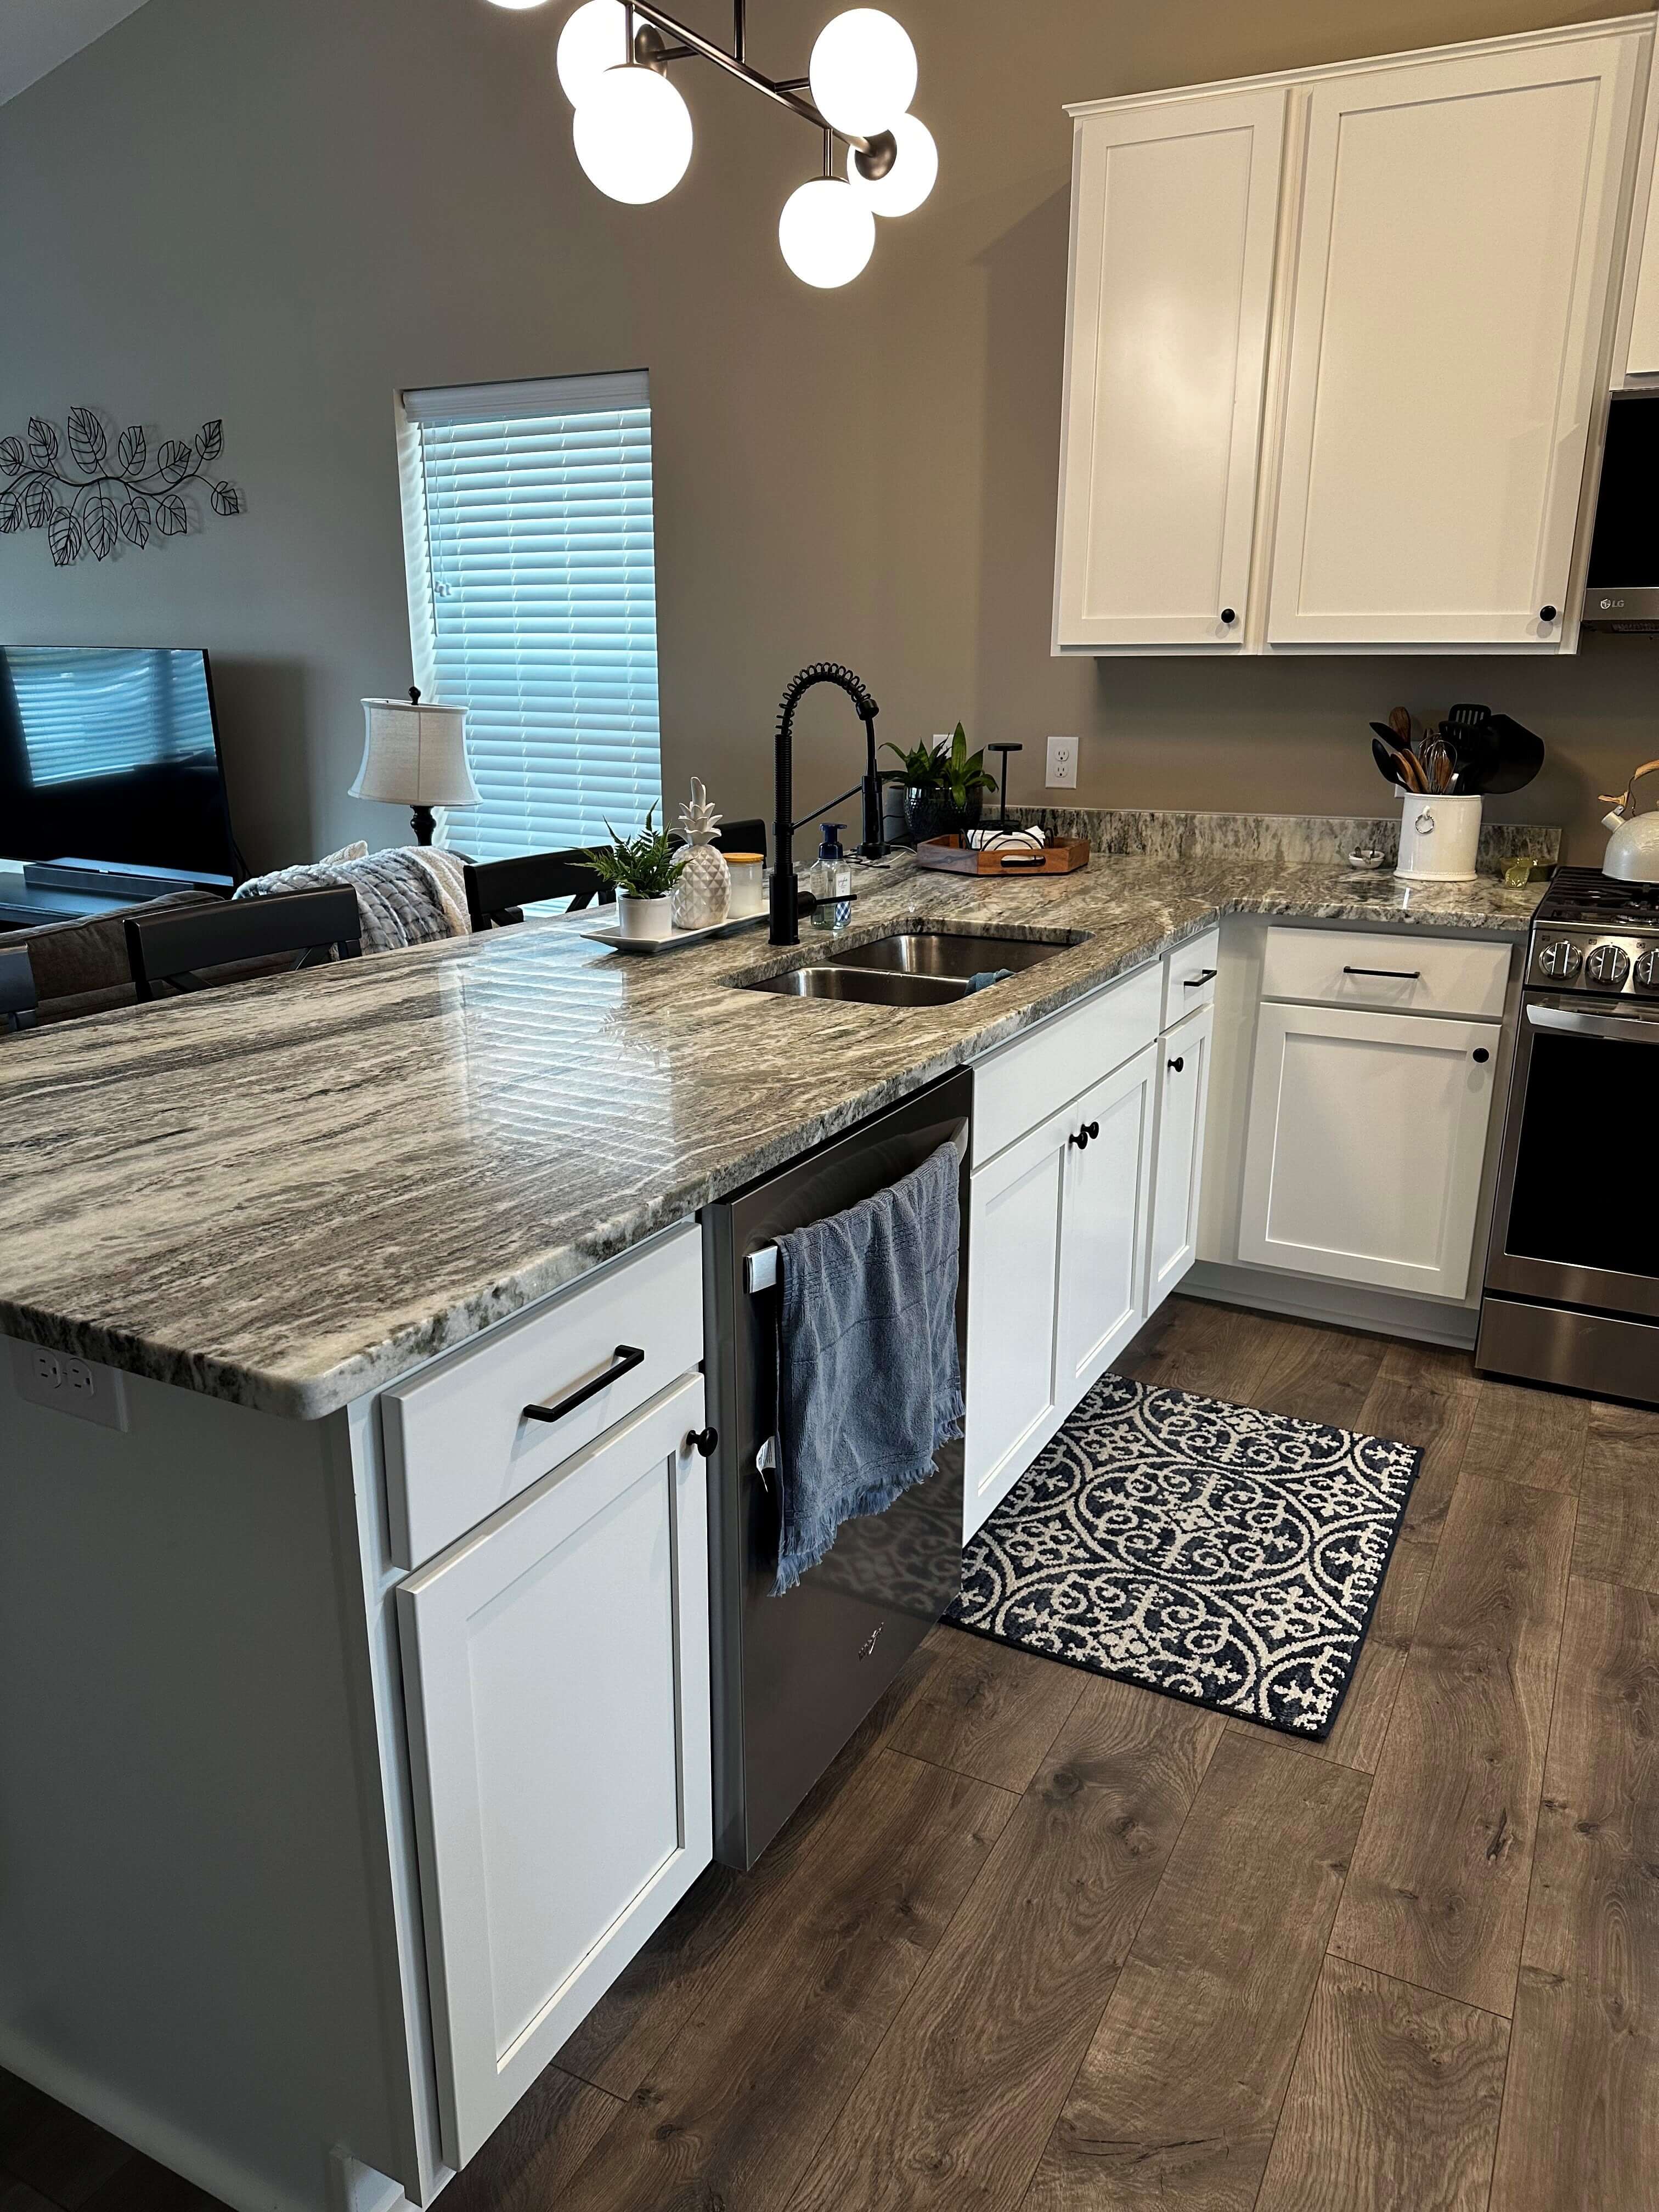
My new home just after moving in!
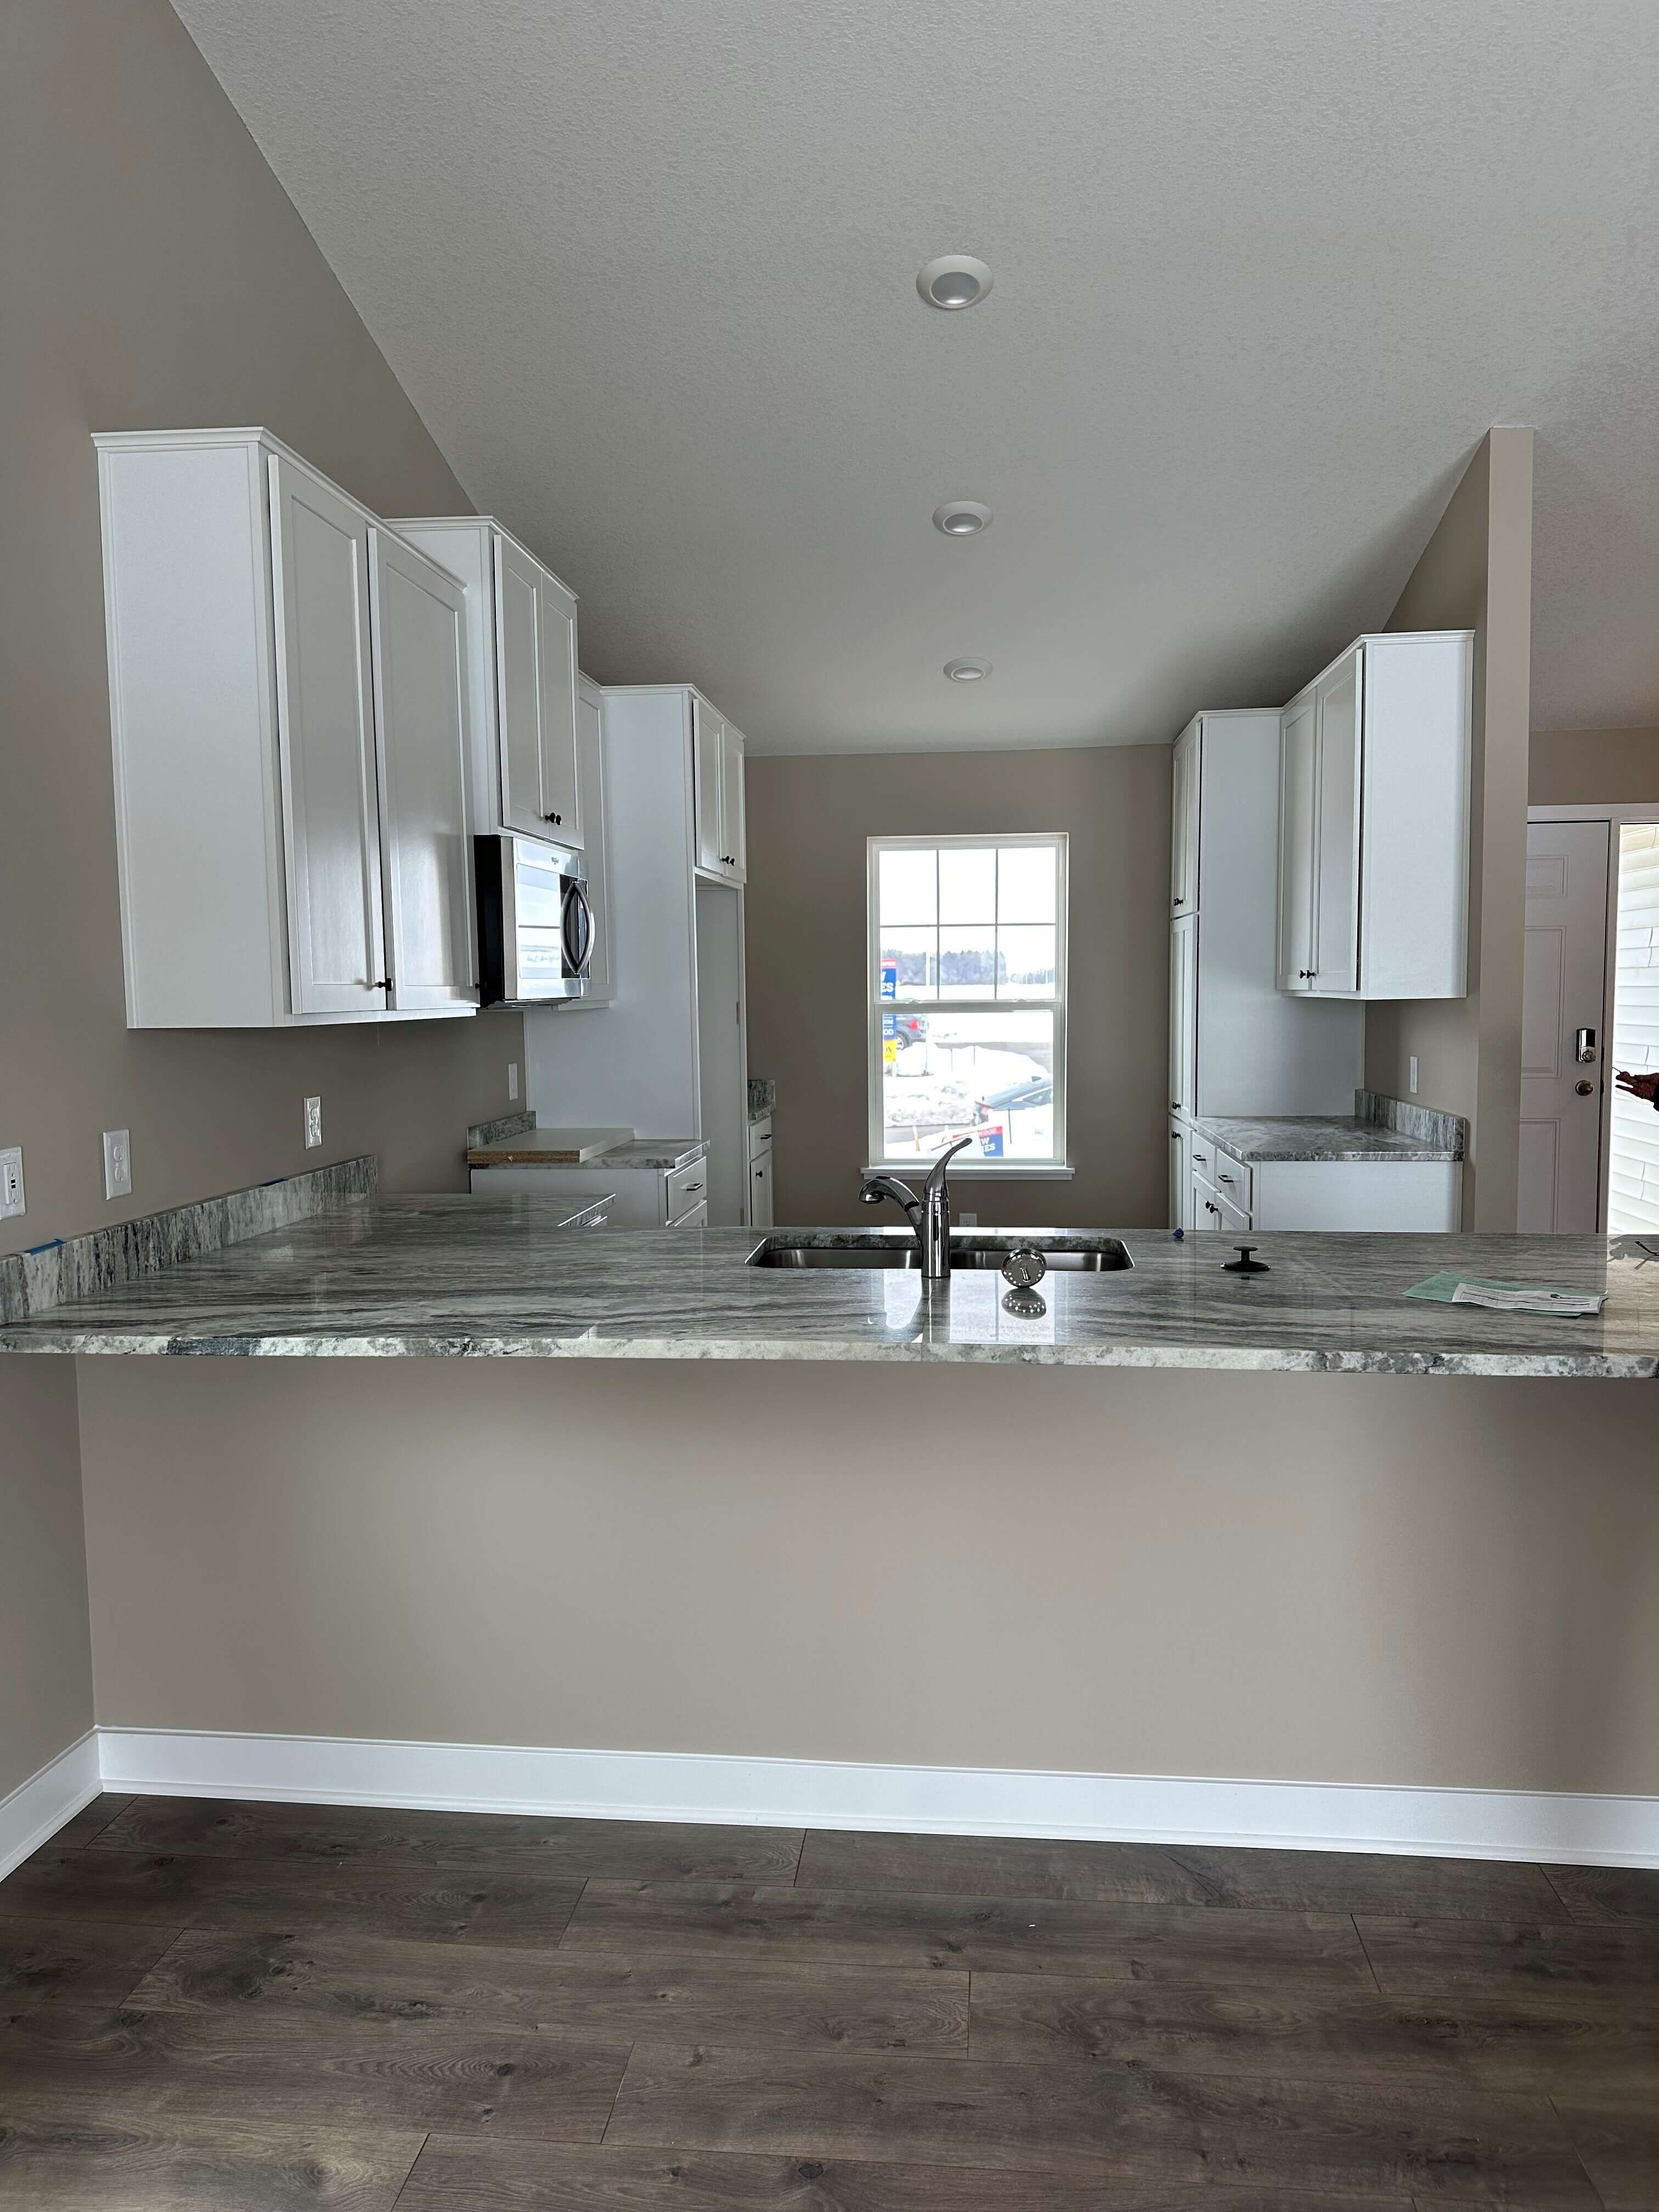
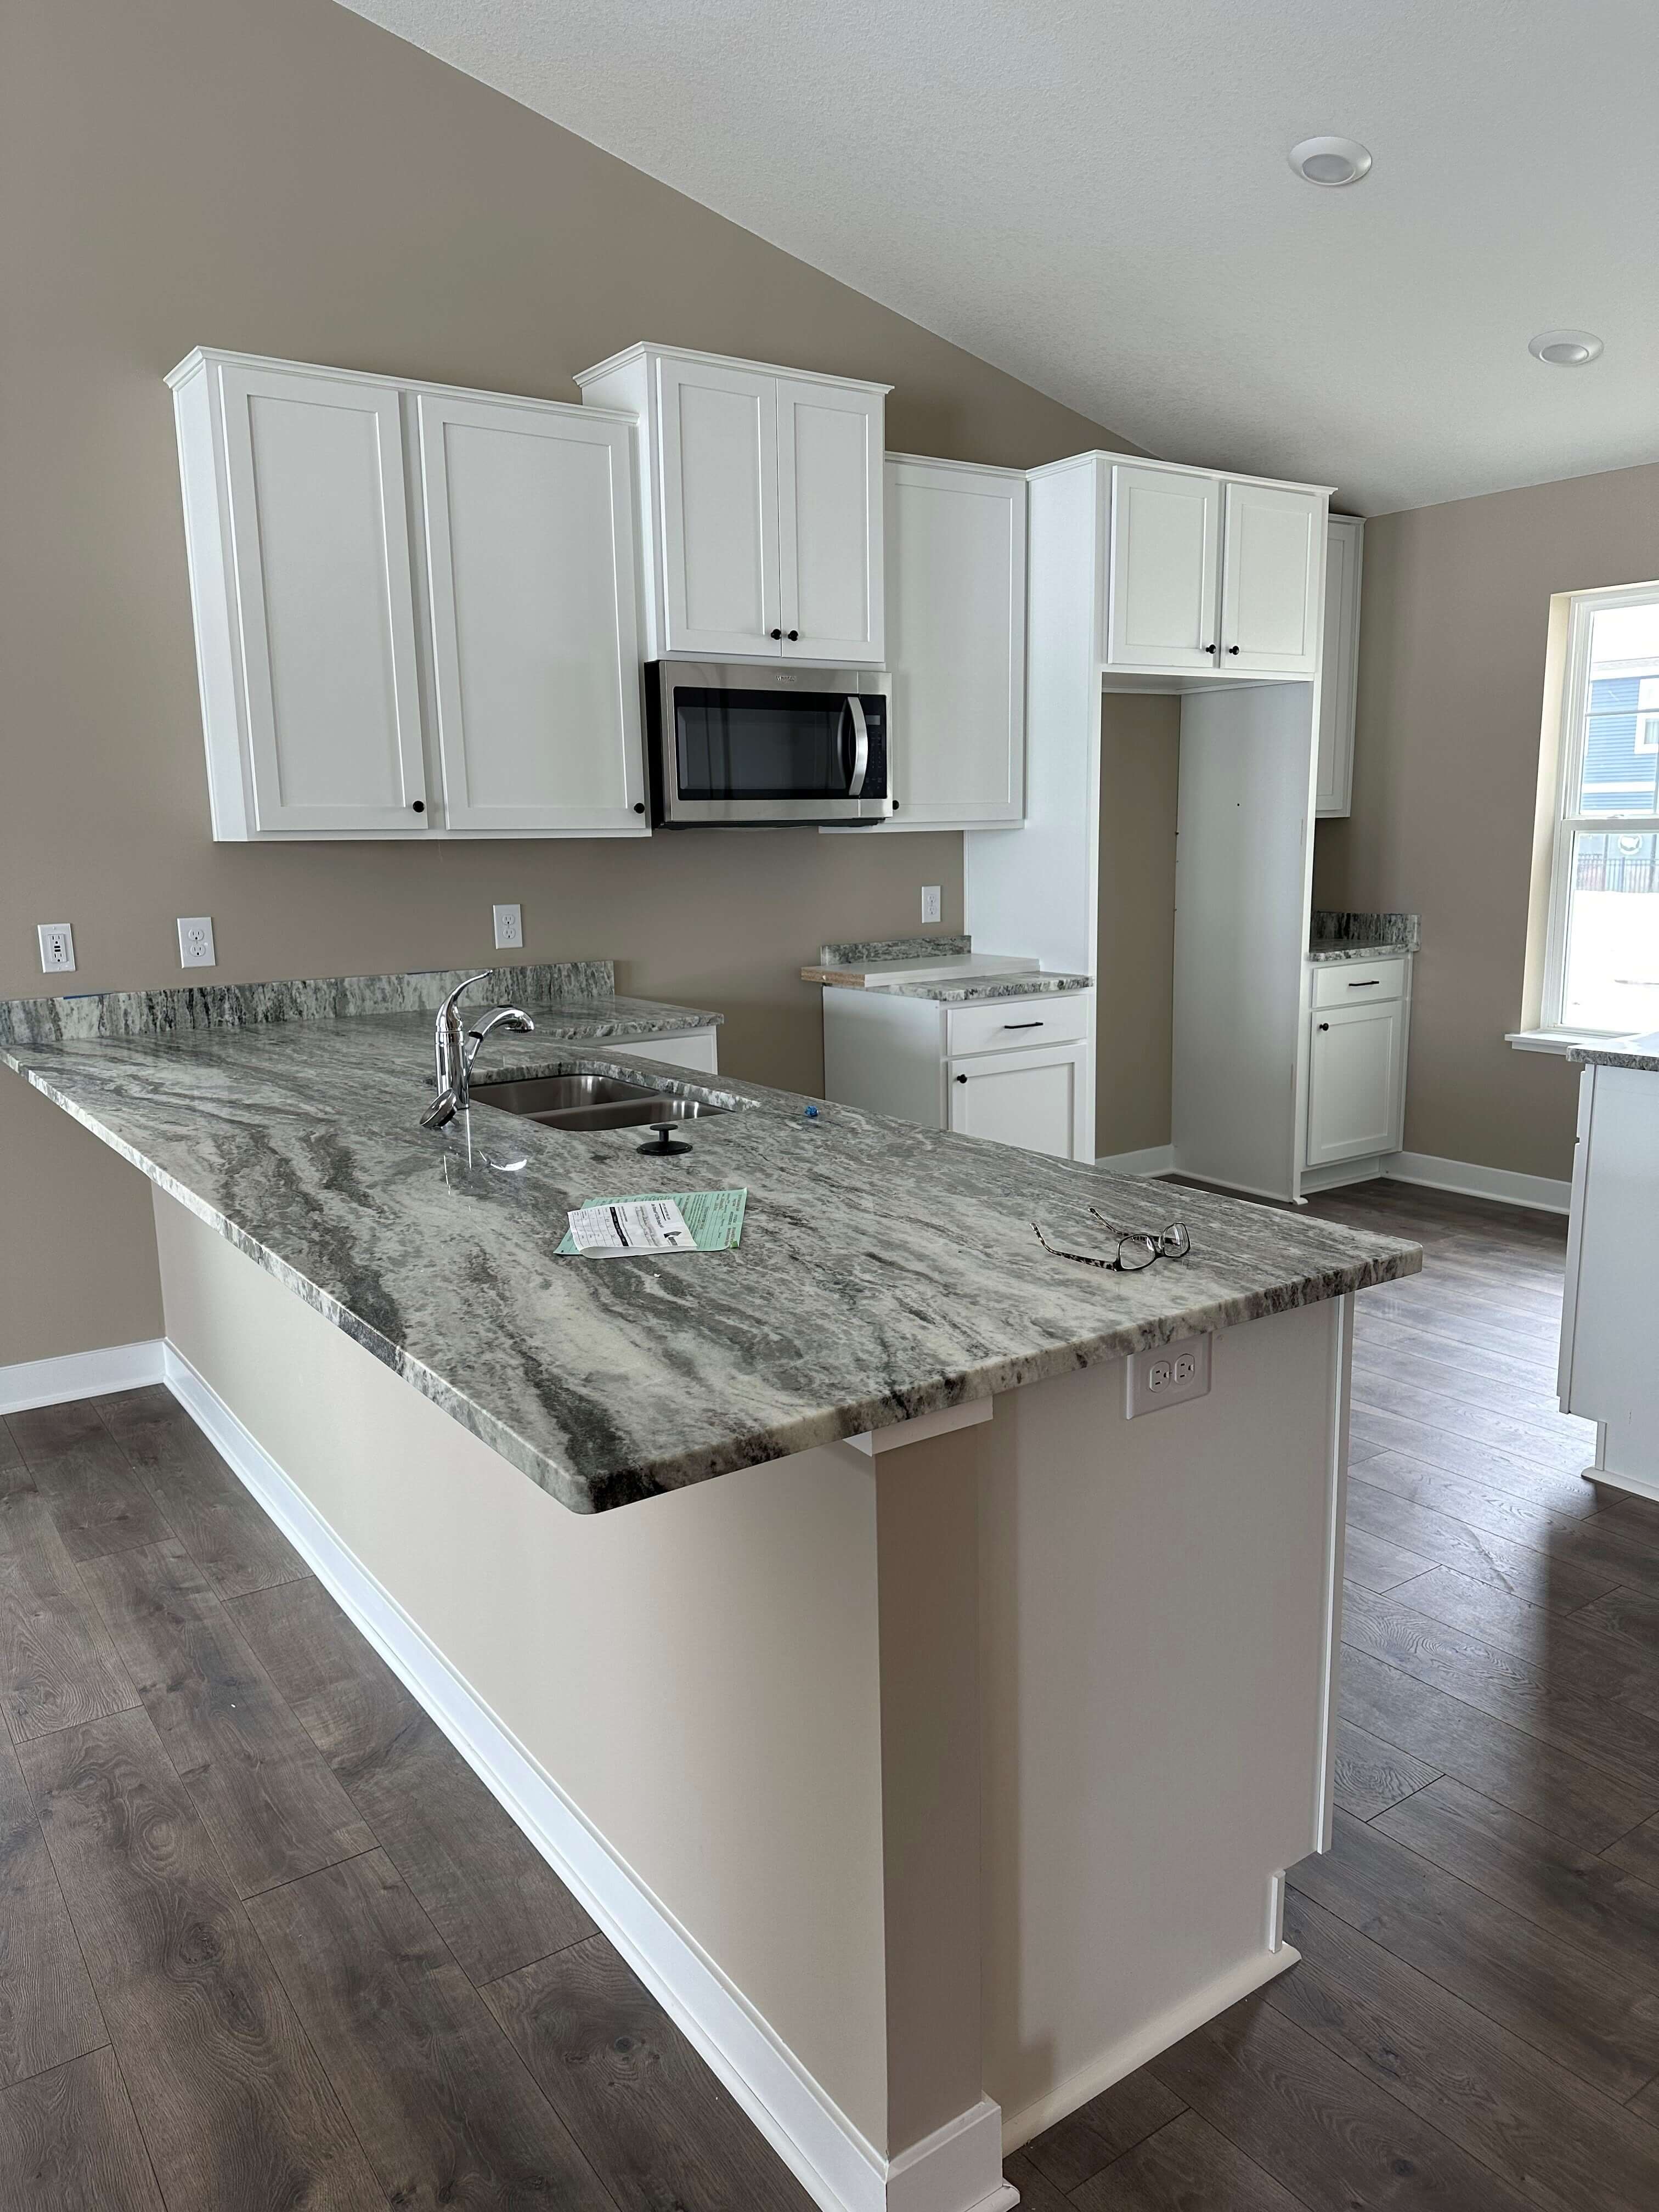
First, I don’t think there are a lot of people, if any, that buy a new construction home and decide right away to rip out the kitchen. That was me! The original cabinets were your typical builder-grade type; White Shaker Thermofoil 5-piece doors (ugh!). They had so many defects and finish issues that it was very cringe-worthy for this designer. The drawers were actually decent hardwood with dovetail construction, however, the glides were side mount epoxy style. None of the drawers or doors were soft-close and I kept slamming them as I was used to my previous kitchen cabinets that were. There were absolutely no storage accessories, or any kind of in-cabinet conveniences included. It was very basic, to say the least, and to the untrained eye, my issues might have been passed over. You can scroll through the before photos in the gallery below:
After living in the space for a few months I was more than convinced I needed to rip out the kitchen. I had so many items on my Must-Haves list that I wanted to enjoy a new kitchen sooner rather than later. Also, when you work for the Greatest Cabinet Company in the World how can you not want to have the product you are so proud of in your own home?
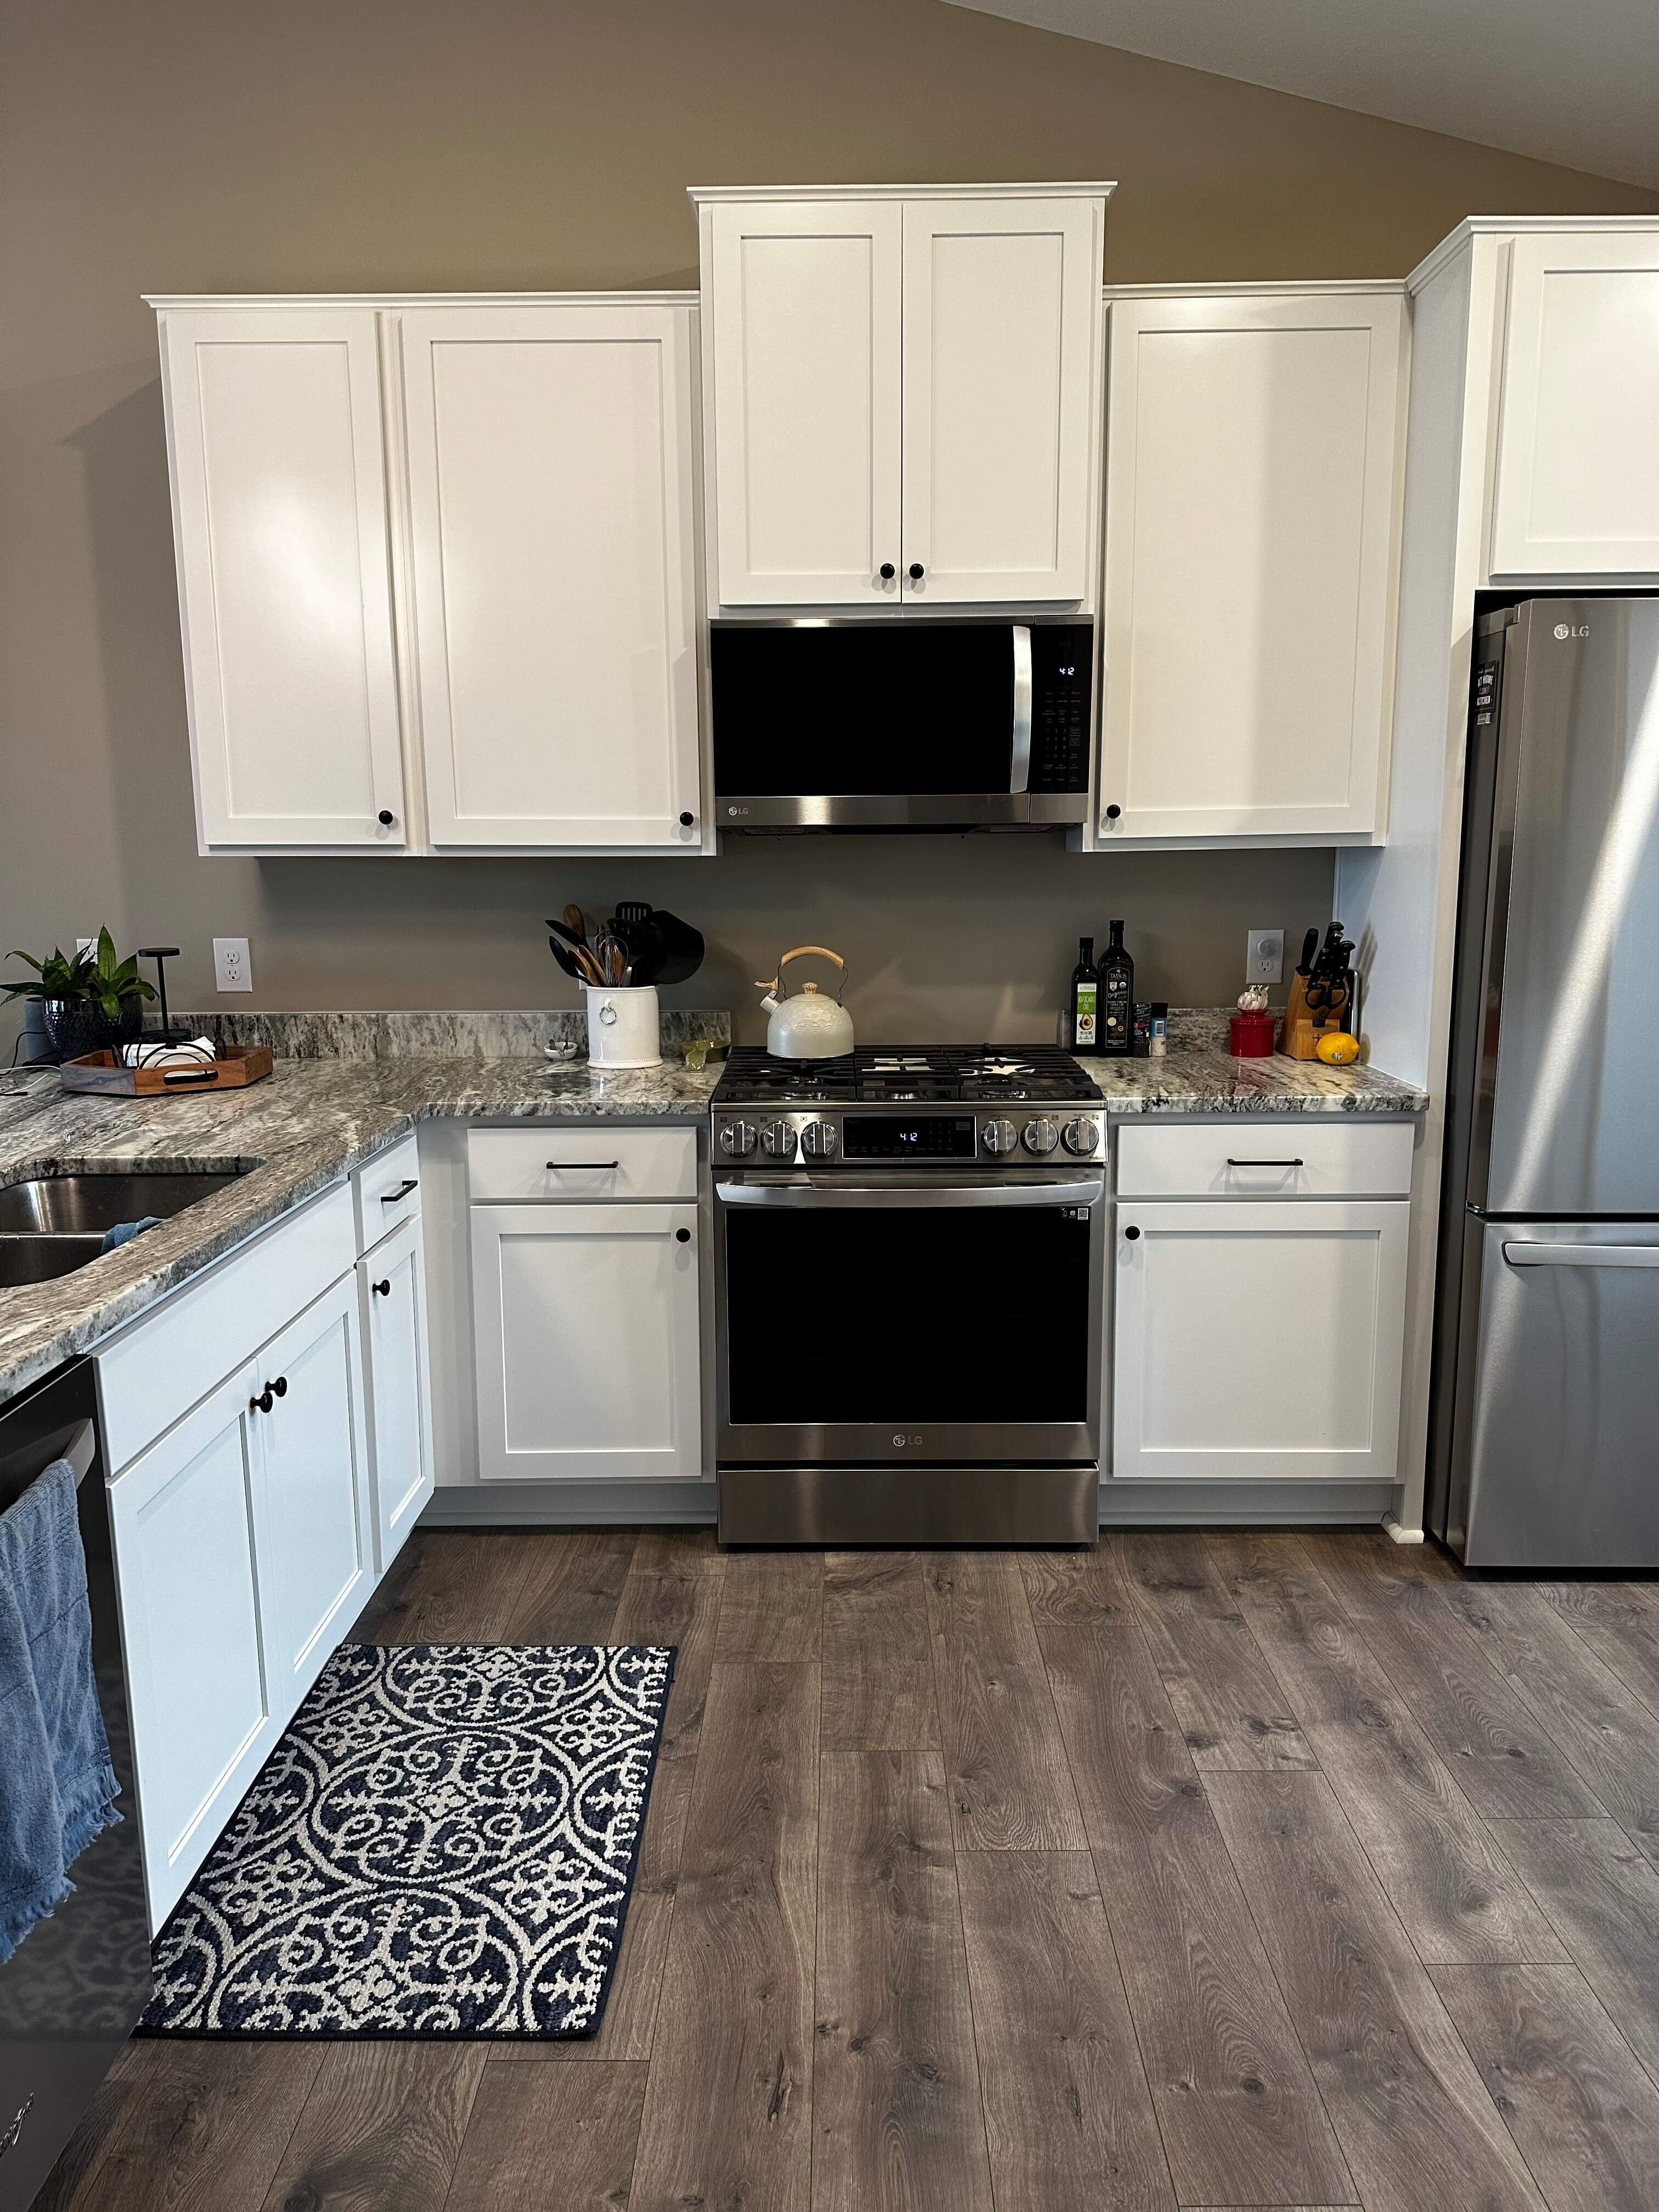
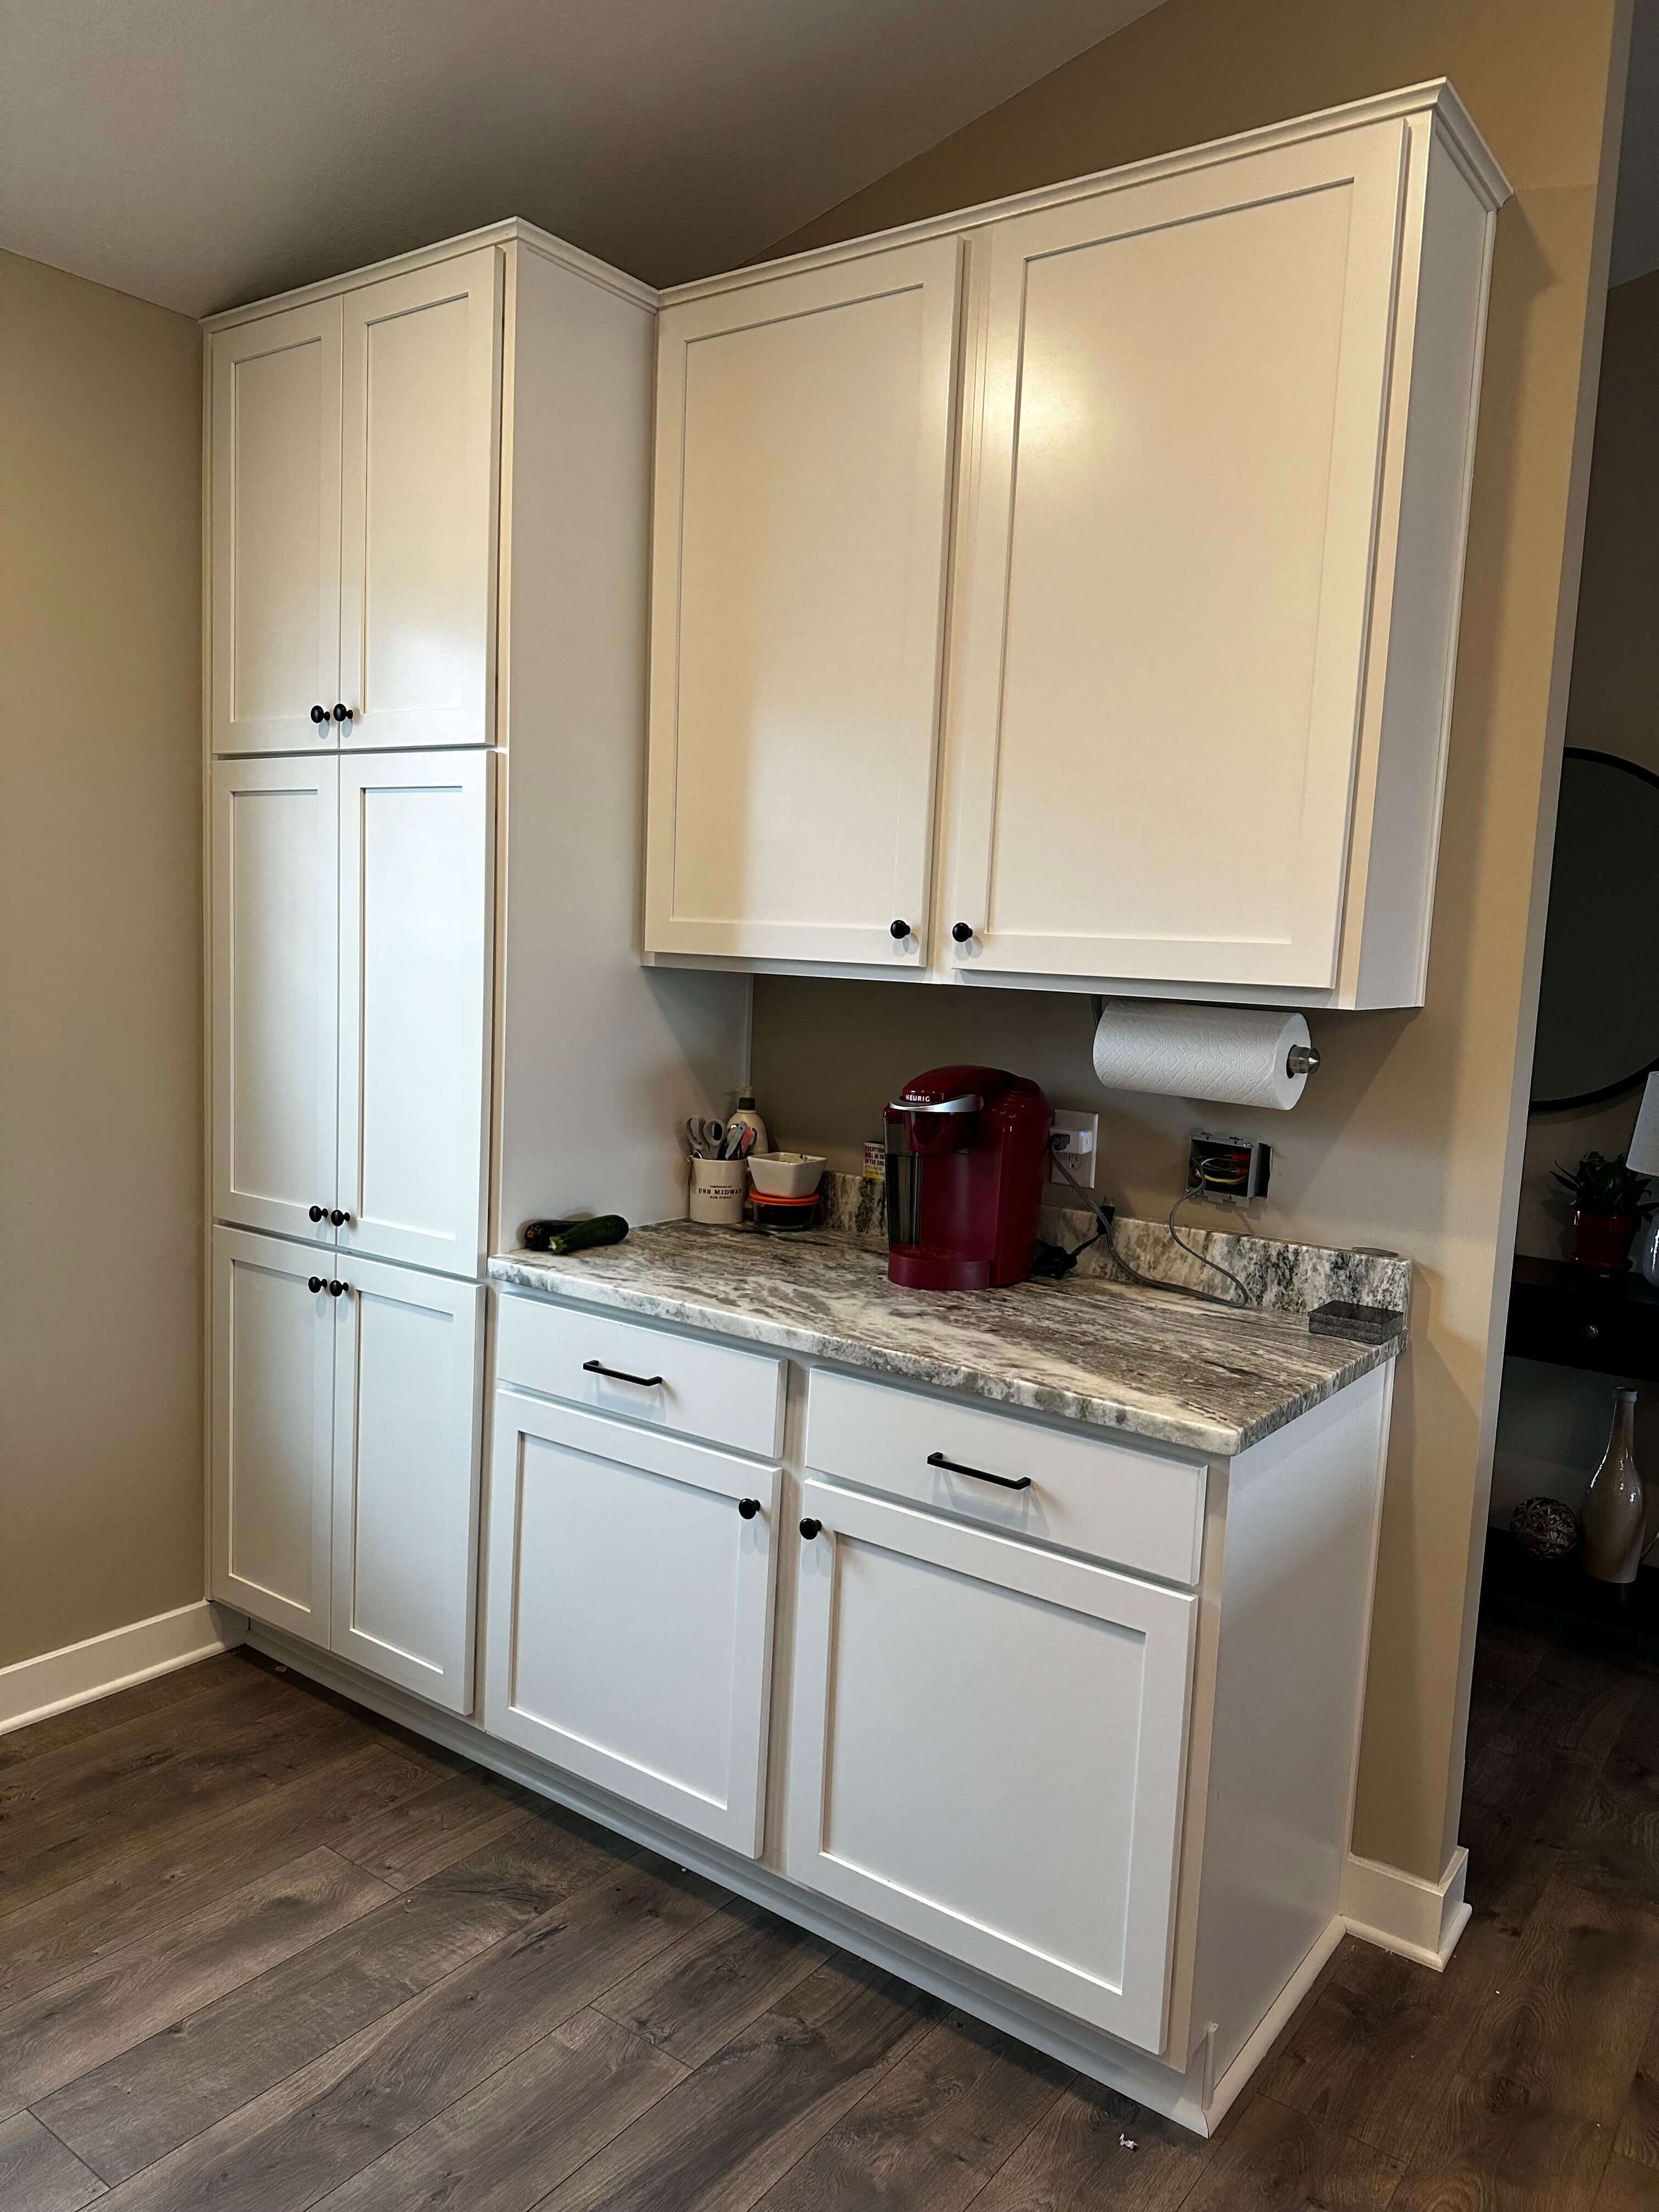
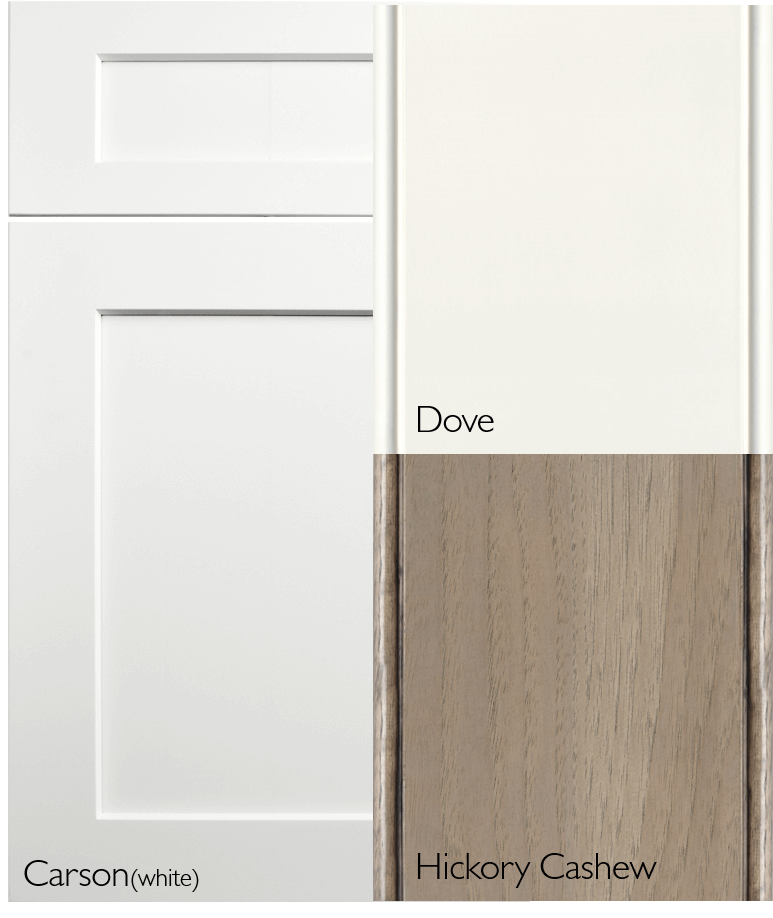
I already knew I wanted to have Dura Supreme’s Bria frameless with a warm wood tone mixed with some paint in our Carson door style, but what stain and paint to choose? I needed to find tones that would work well with the existing floors which were a great color. After bringing home several cabinet door samples and agonizing over the finishes for a few weeks, I decided on Hickory in the Cashew stain for the bases and Dove paint for the uppers. Both complimented the flooring as well as the rest of the home’s finishes.
There wasn’t a whole lot I could do about changing the kitchen layout. The location of plumbing, venting, and LVP flooring prevented anything from moving around, but I could make a few tweaks to help improve the overall look and functionality. The most important change I needed to make was to eliminate the small alcove area created between the fridge and the corner. This little zone was an eyesore for me and I felt it would be better utilized for a tall pantry with roll-out shelves. I also wanted to create an area to hide my countertop appliances. I went through 67 different cabinet plans (kidding!) before landing on the one that would get me what I was looking to do while staying within my budget. With the holidays looming I placed my order!
The Waiting Game
While awaiting the cabinets my handy beau discovered the attic space was completely open and accessible. That meant a light fixture could be added directly over the sink for some much-needed additional task lighting! The way the current can lights were installed a shadow was always being cast when working at the sink. We quickly went to work on completing the project and were able to get it done in a day. We even added a smart wall switch so it could be voice-activated with Alexa. I ordered a modern linear fixture that added a bit of character to the overall design.
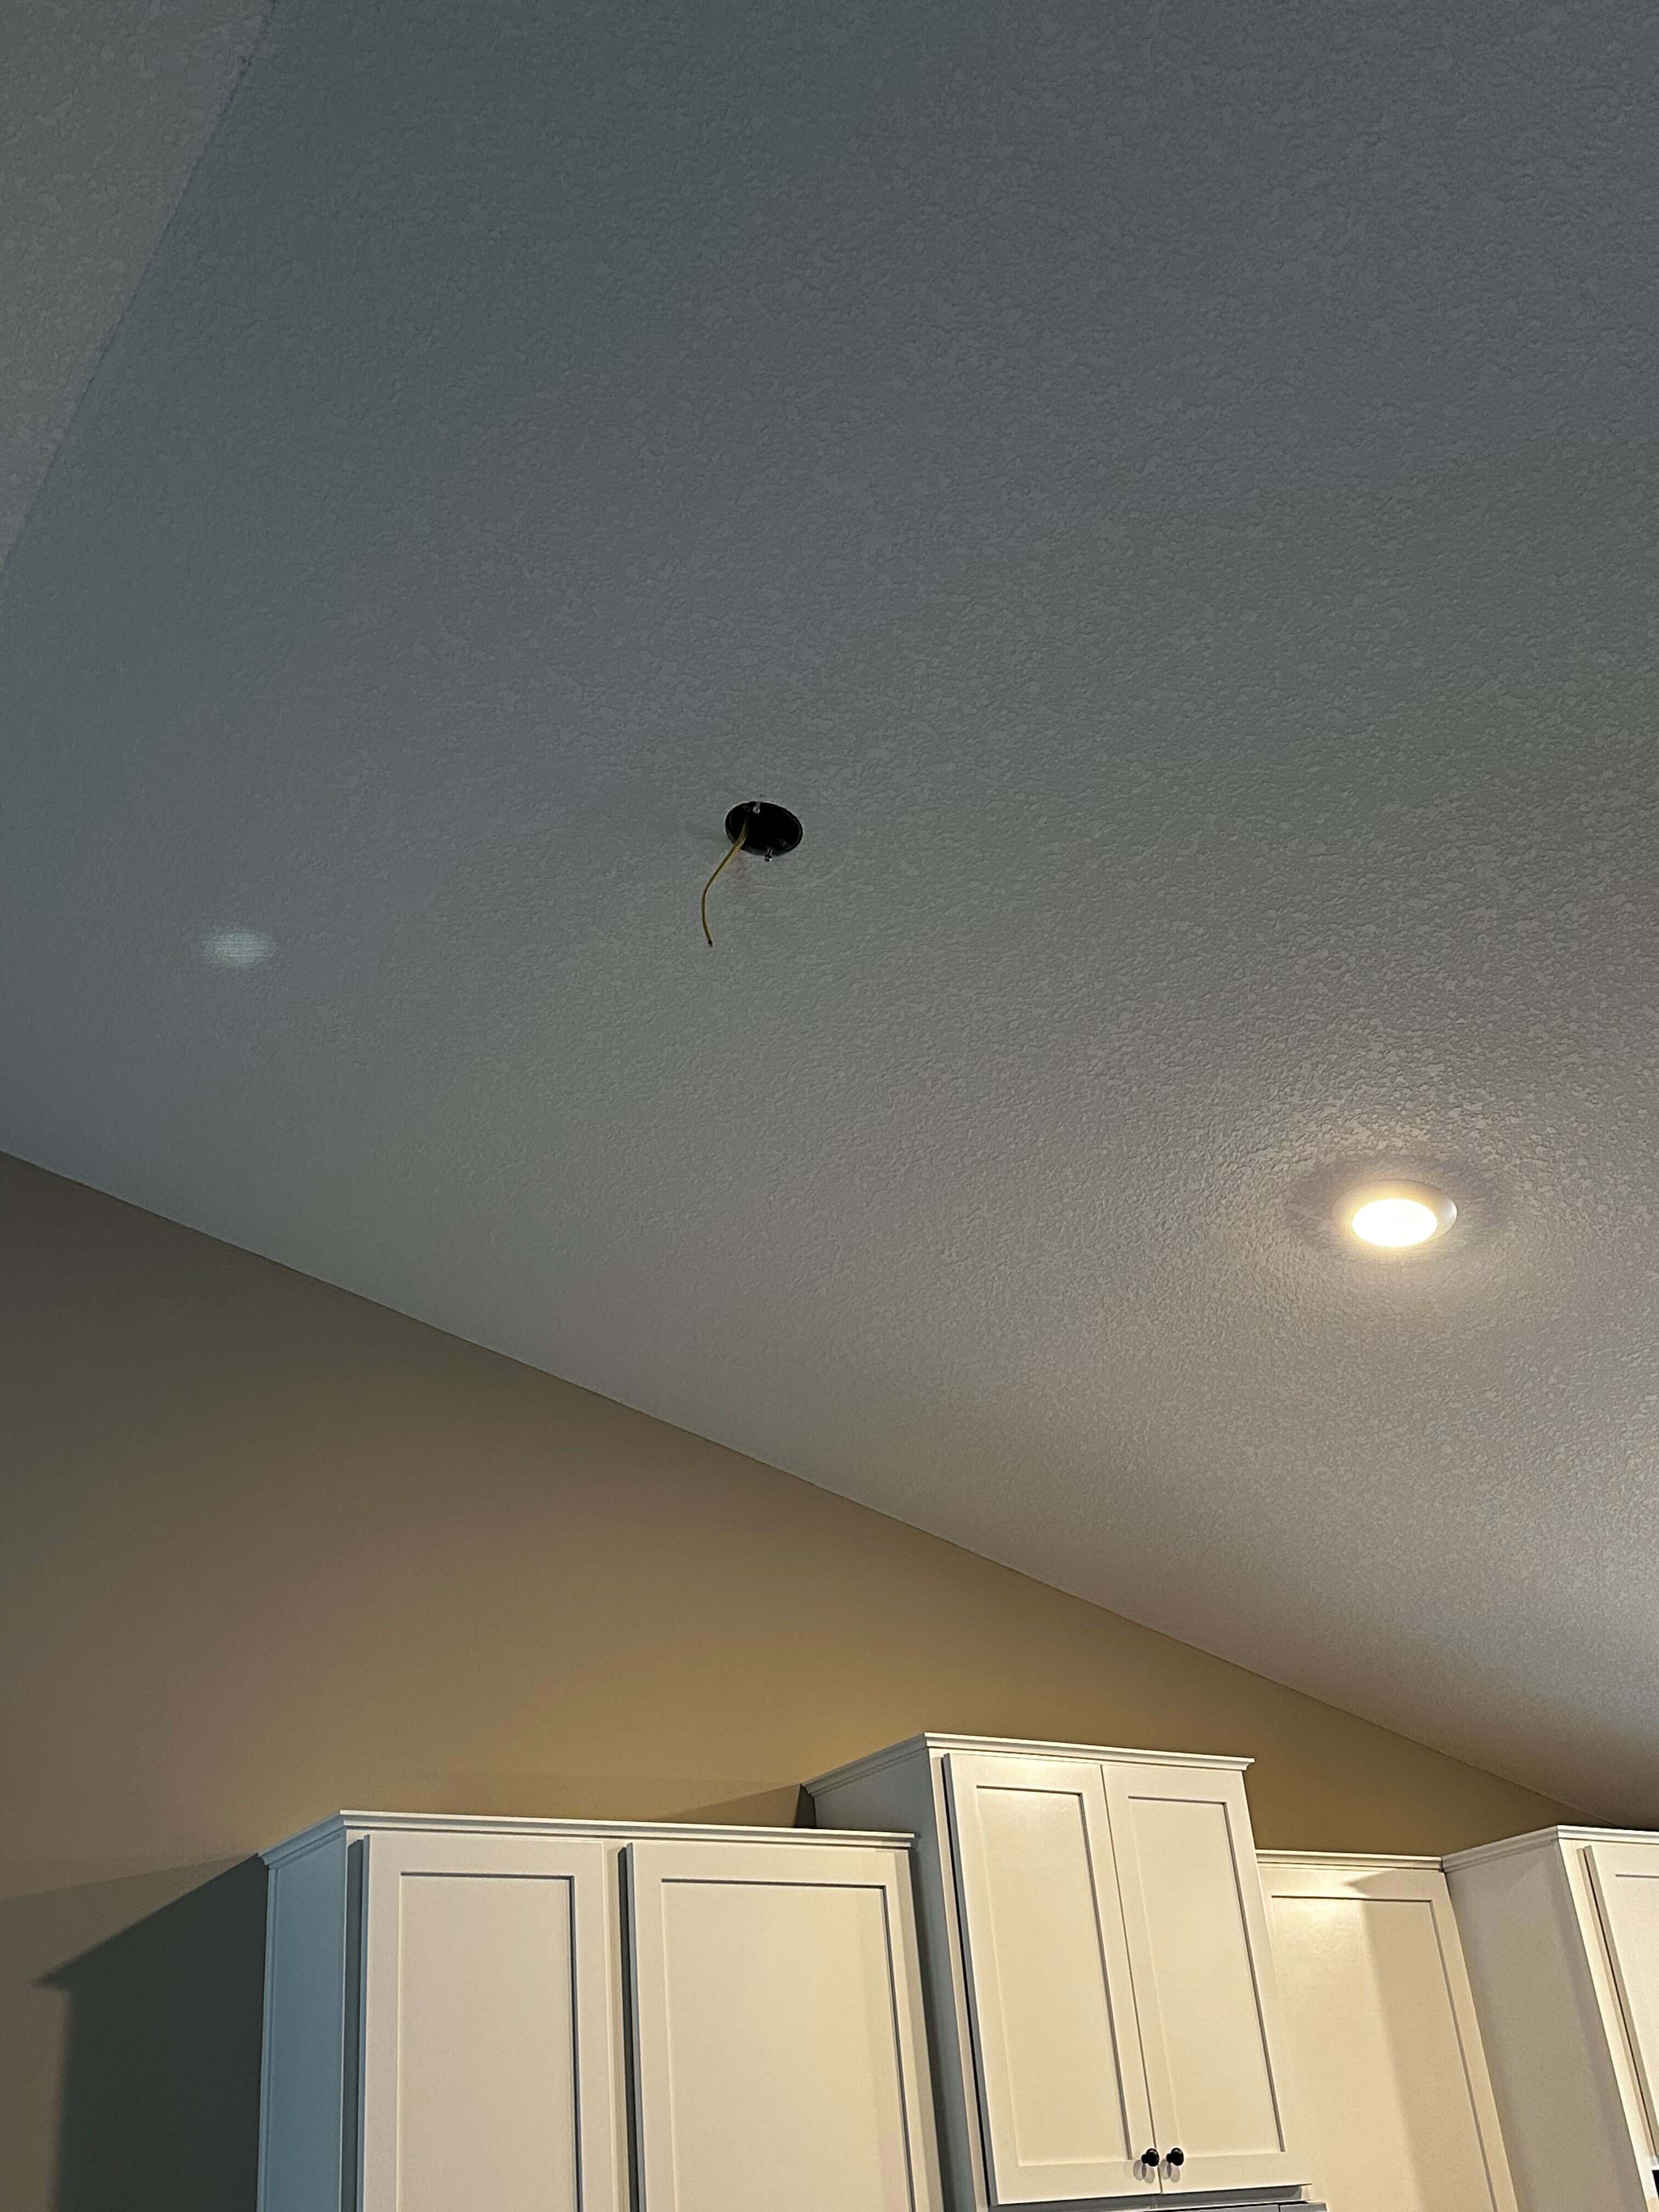
Adding the box above the peninsula/sink for task lighting.

Sphere linear fixture from HomeDepot.com.

Sphere linear fixture from HomeDepot.com.
During this time I also needed to finalize what I wanted to do for countertops. I had been so sure I was going to get Corian Quartz in Calacatta Villa that I would have staked my life on it. It had been used in the training room remodel at Dura Supreme Cabinetry’s Headquarters. I was so in love with it, I had decided to use it for my own kitchen. However, I had someone else’s opinion to consider and he wasn’t sold on it. I visited the countertop fabricator 4 different times and just about looked at every slab comparing each one with my cabinet door samples. I was torn! I had been so in love with Calacatta Villa but we were looking for a little more drama. We both agreed on going with a darker granite, almost black with beautiful subtle brown flecking that pulled in the Cashew finish. I ordered it and scheduled the measure.

Beautiful Opalescence Granite
Demi Demo
With the cabinets arriving we began the task of removing the existing cabinets. Since they were only 6 months old we were very careful about taking them out, knowing we could easily re-sell them on Marketplace. Since this wasn’t a full gut we just needed to prep the walls and do some light electrical. An additional 4-plex outlet was added where the appliance storage was going to go. I also had to take into consideration the power for the new undercabinet lighting.

Cabinets removed except for the sink base.

The new 4-plex outlet just above the folded stool.
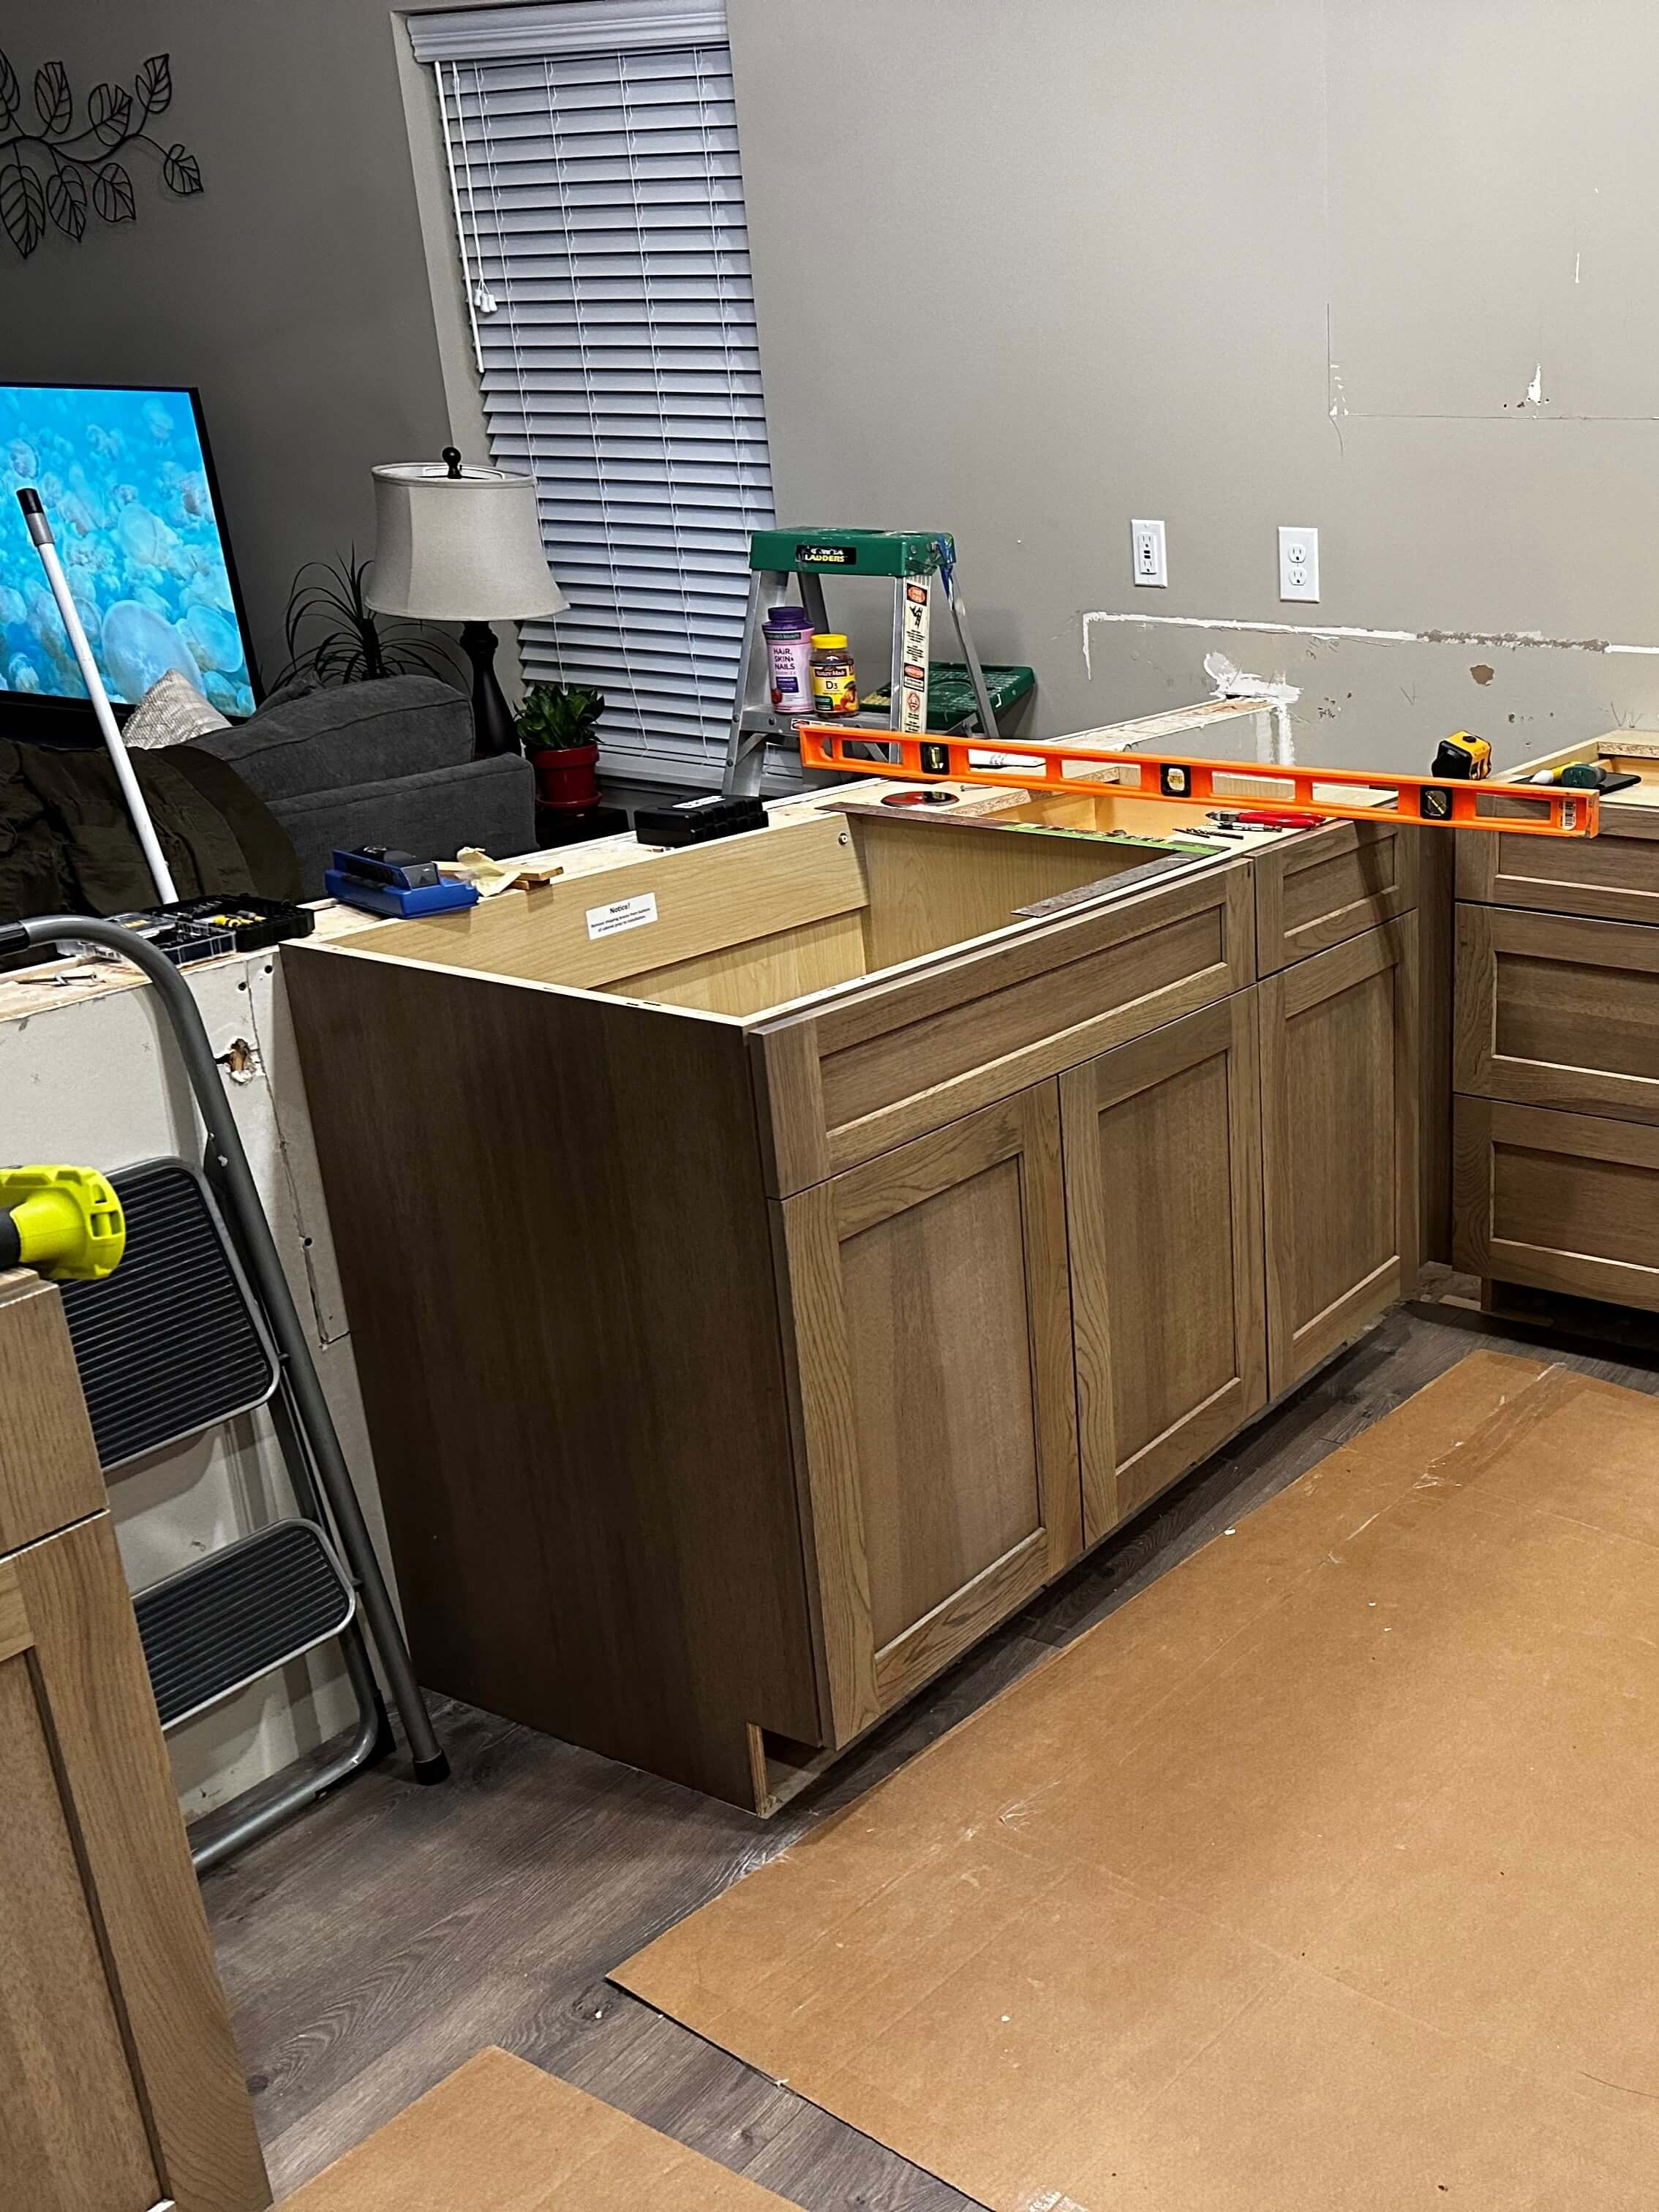
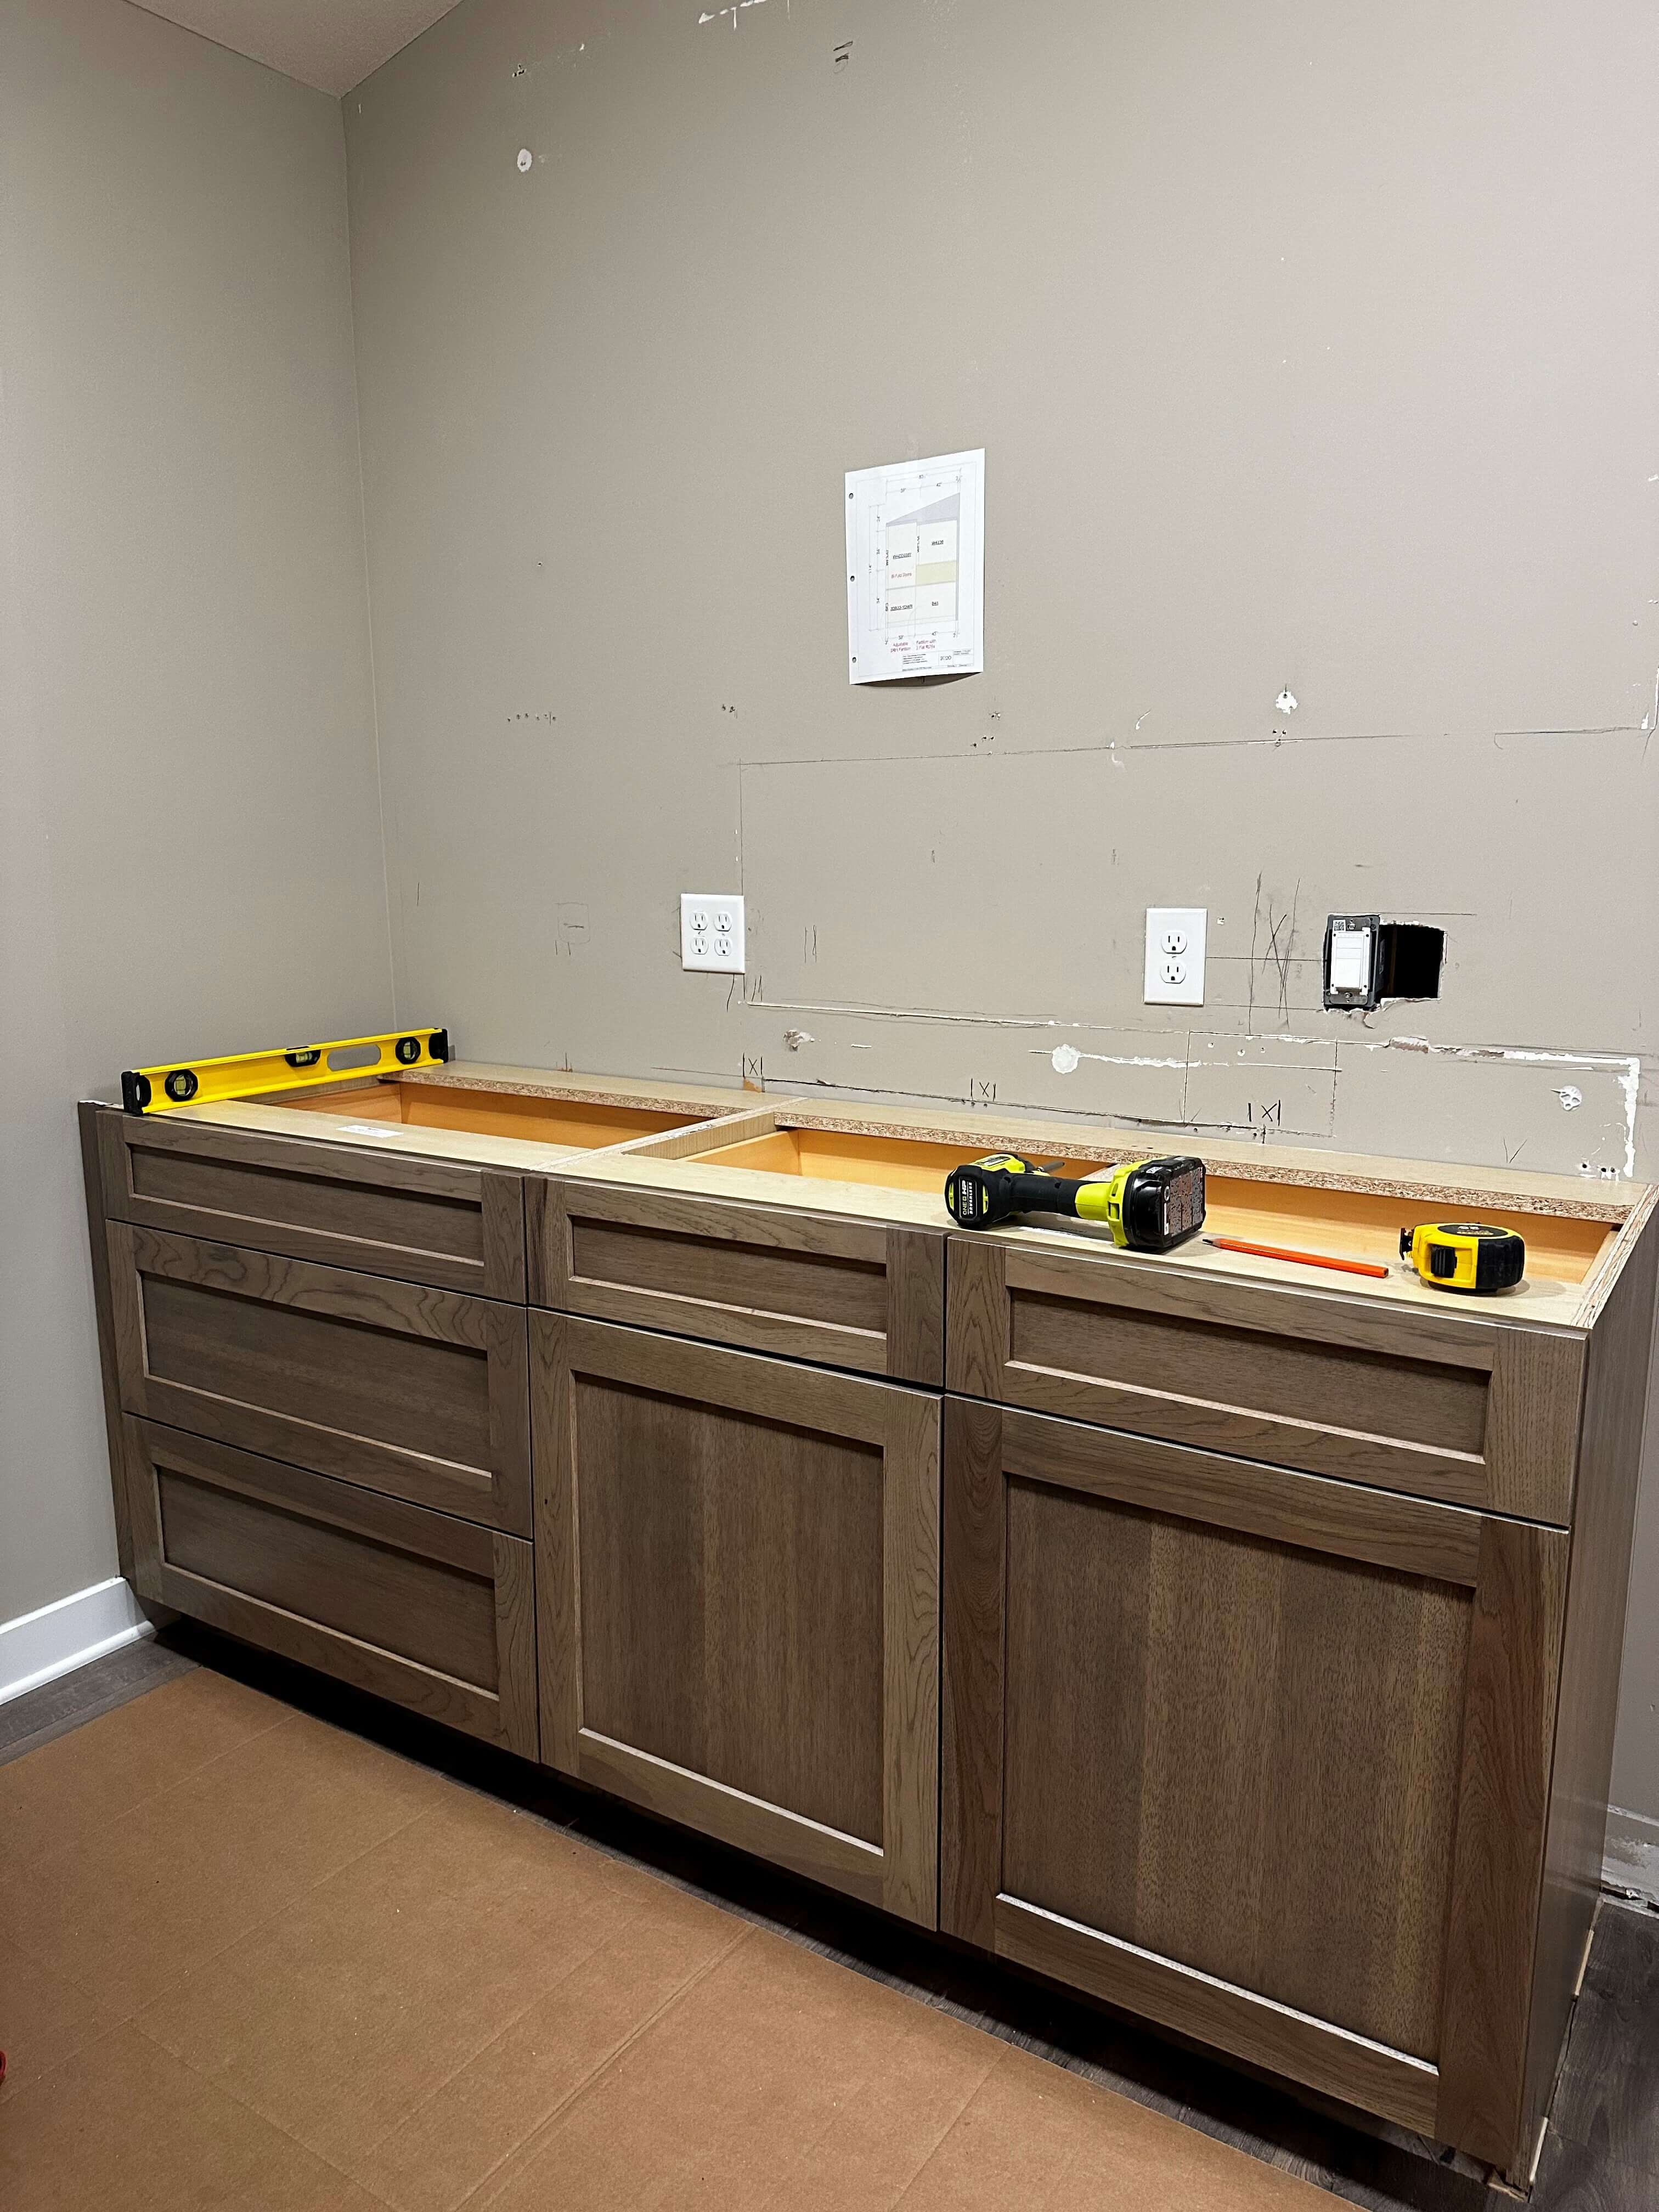
Time to start the install. I was so excited for this day! My new Dura Supreme cabinets were going in and I knew it wouldn’t be long before I started to see my dream come to life. The base cabinets along the short wall went in first. If there is one thing I would share it is the fact my beau found installing a frameless cabinet to be quite easy. Since Dura Supreme Cabinetry ships all their cabinets with included installation hardware he didn’t have to think of what to use, especially when it came to screwing cabinets together.
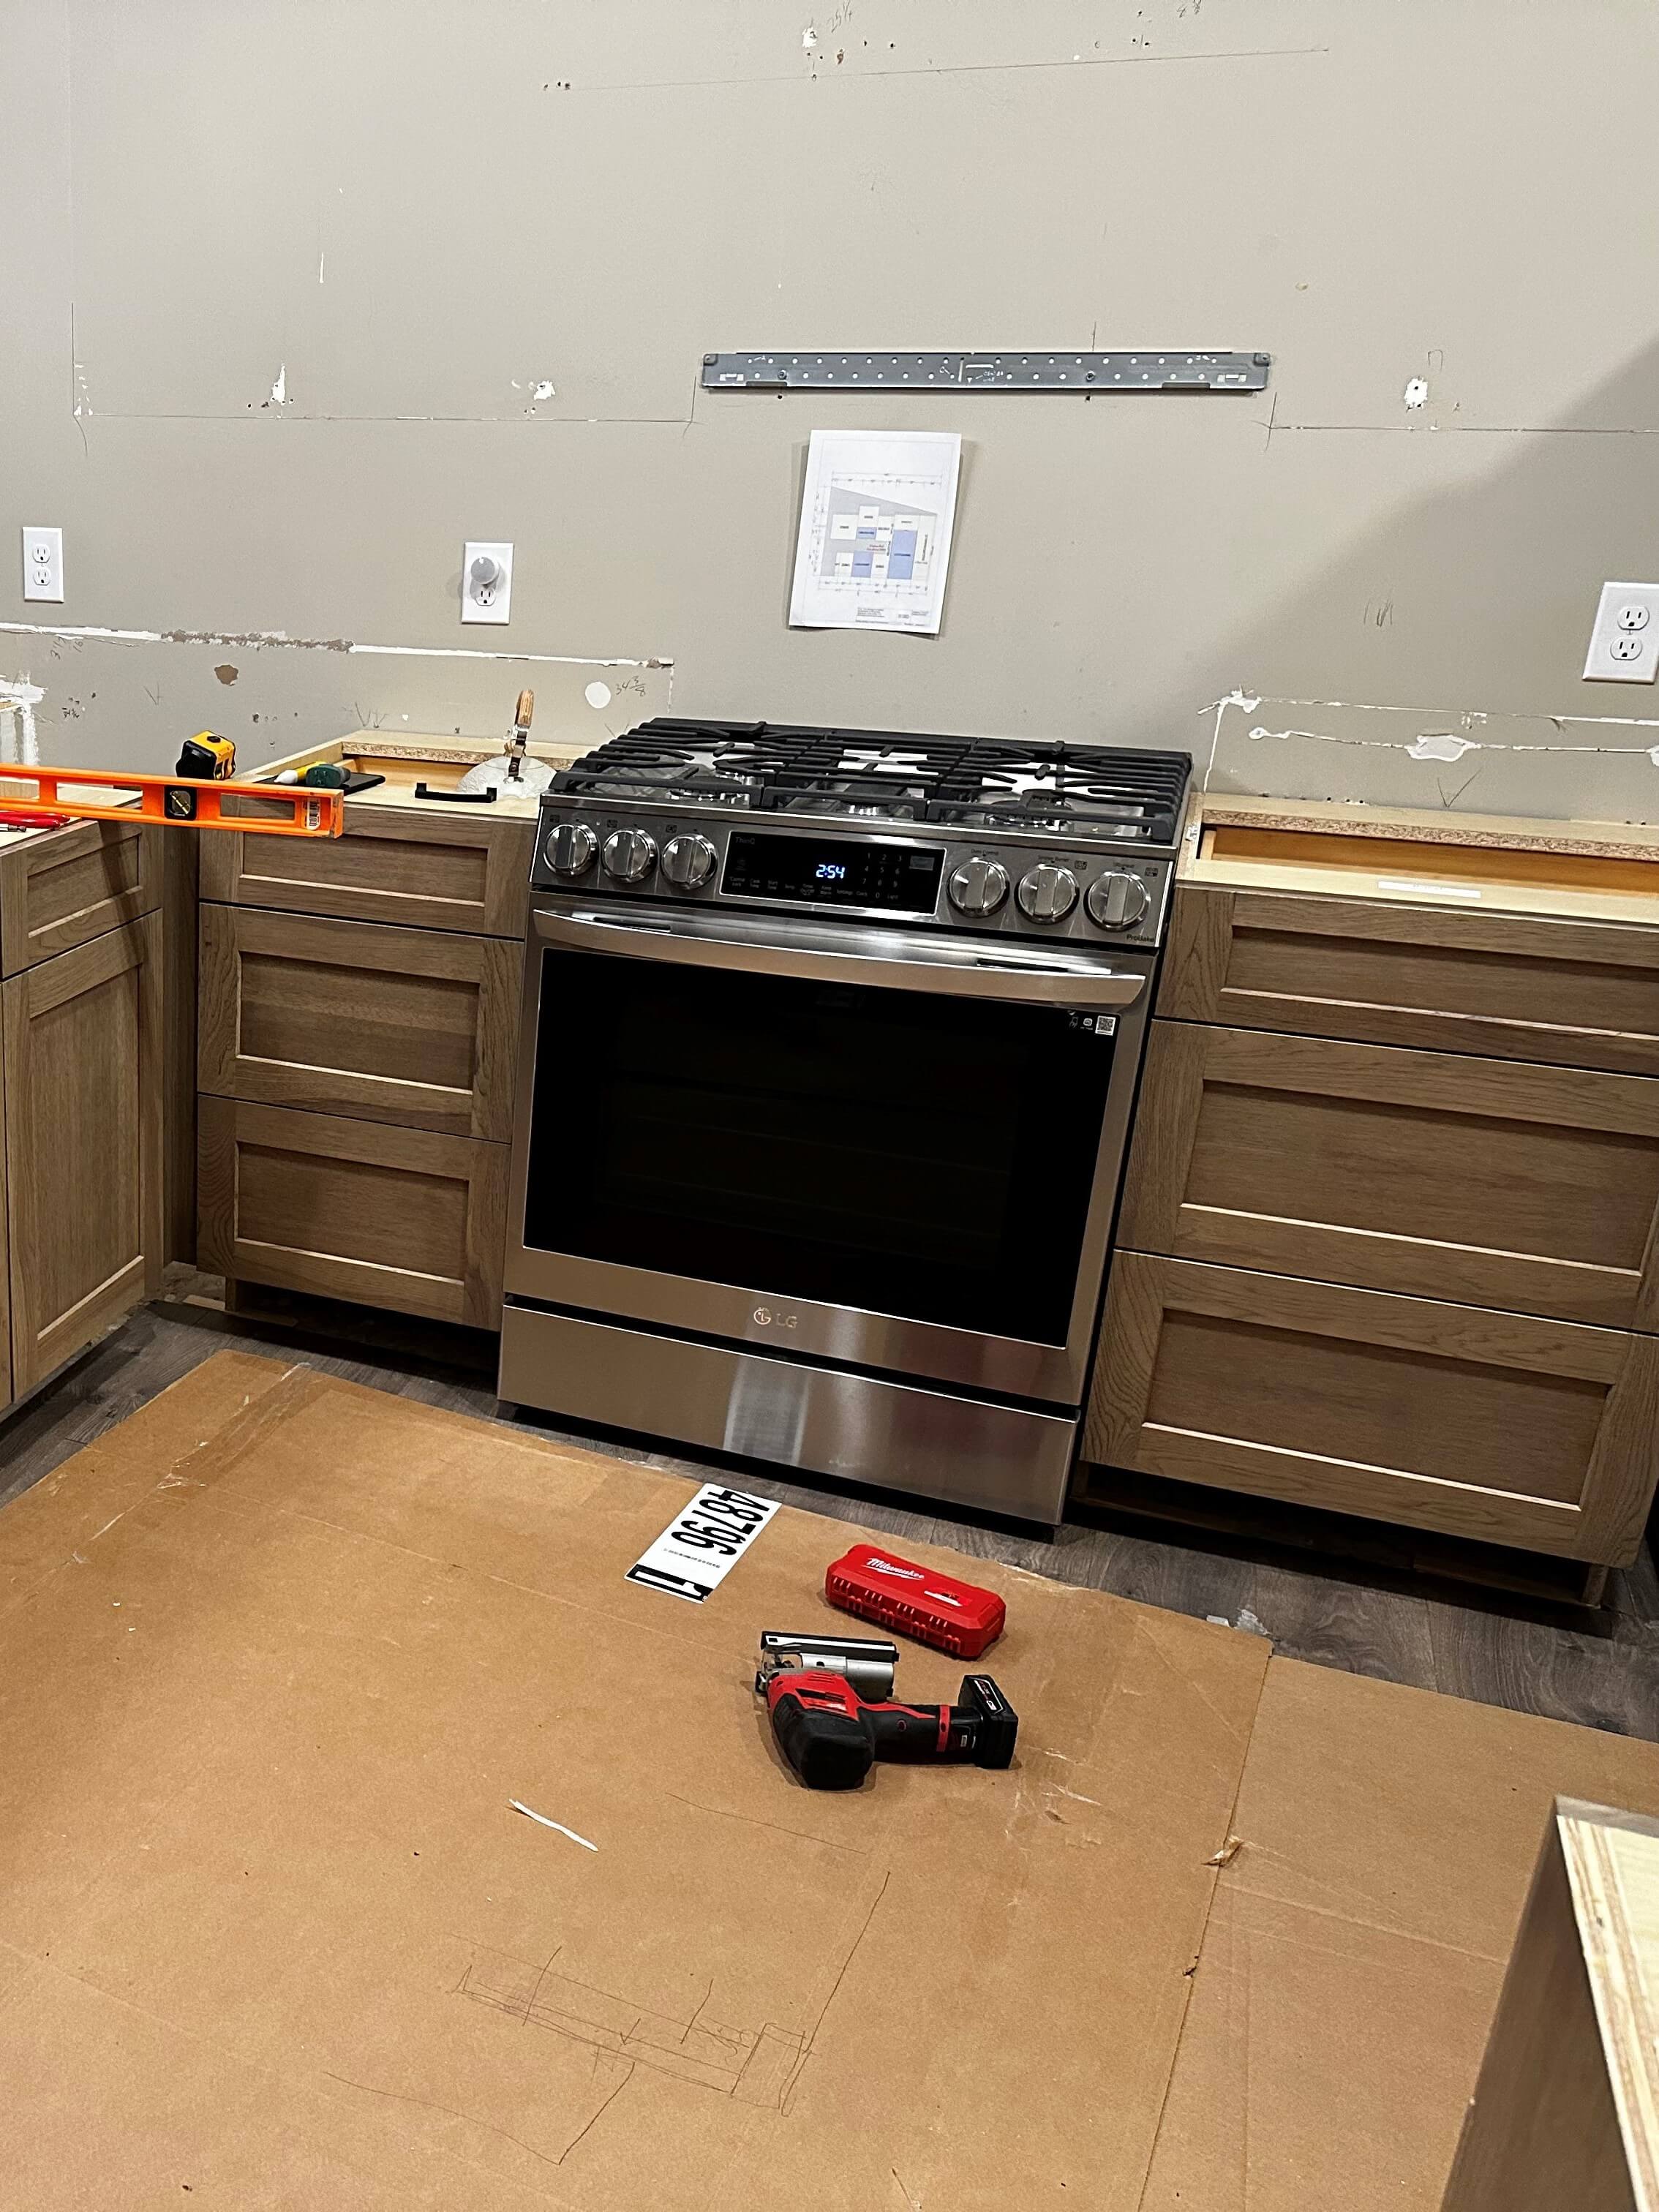
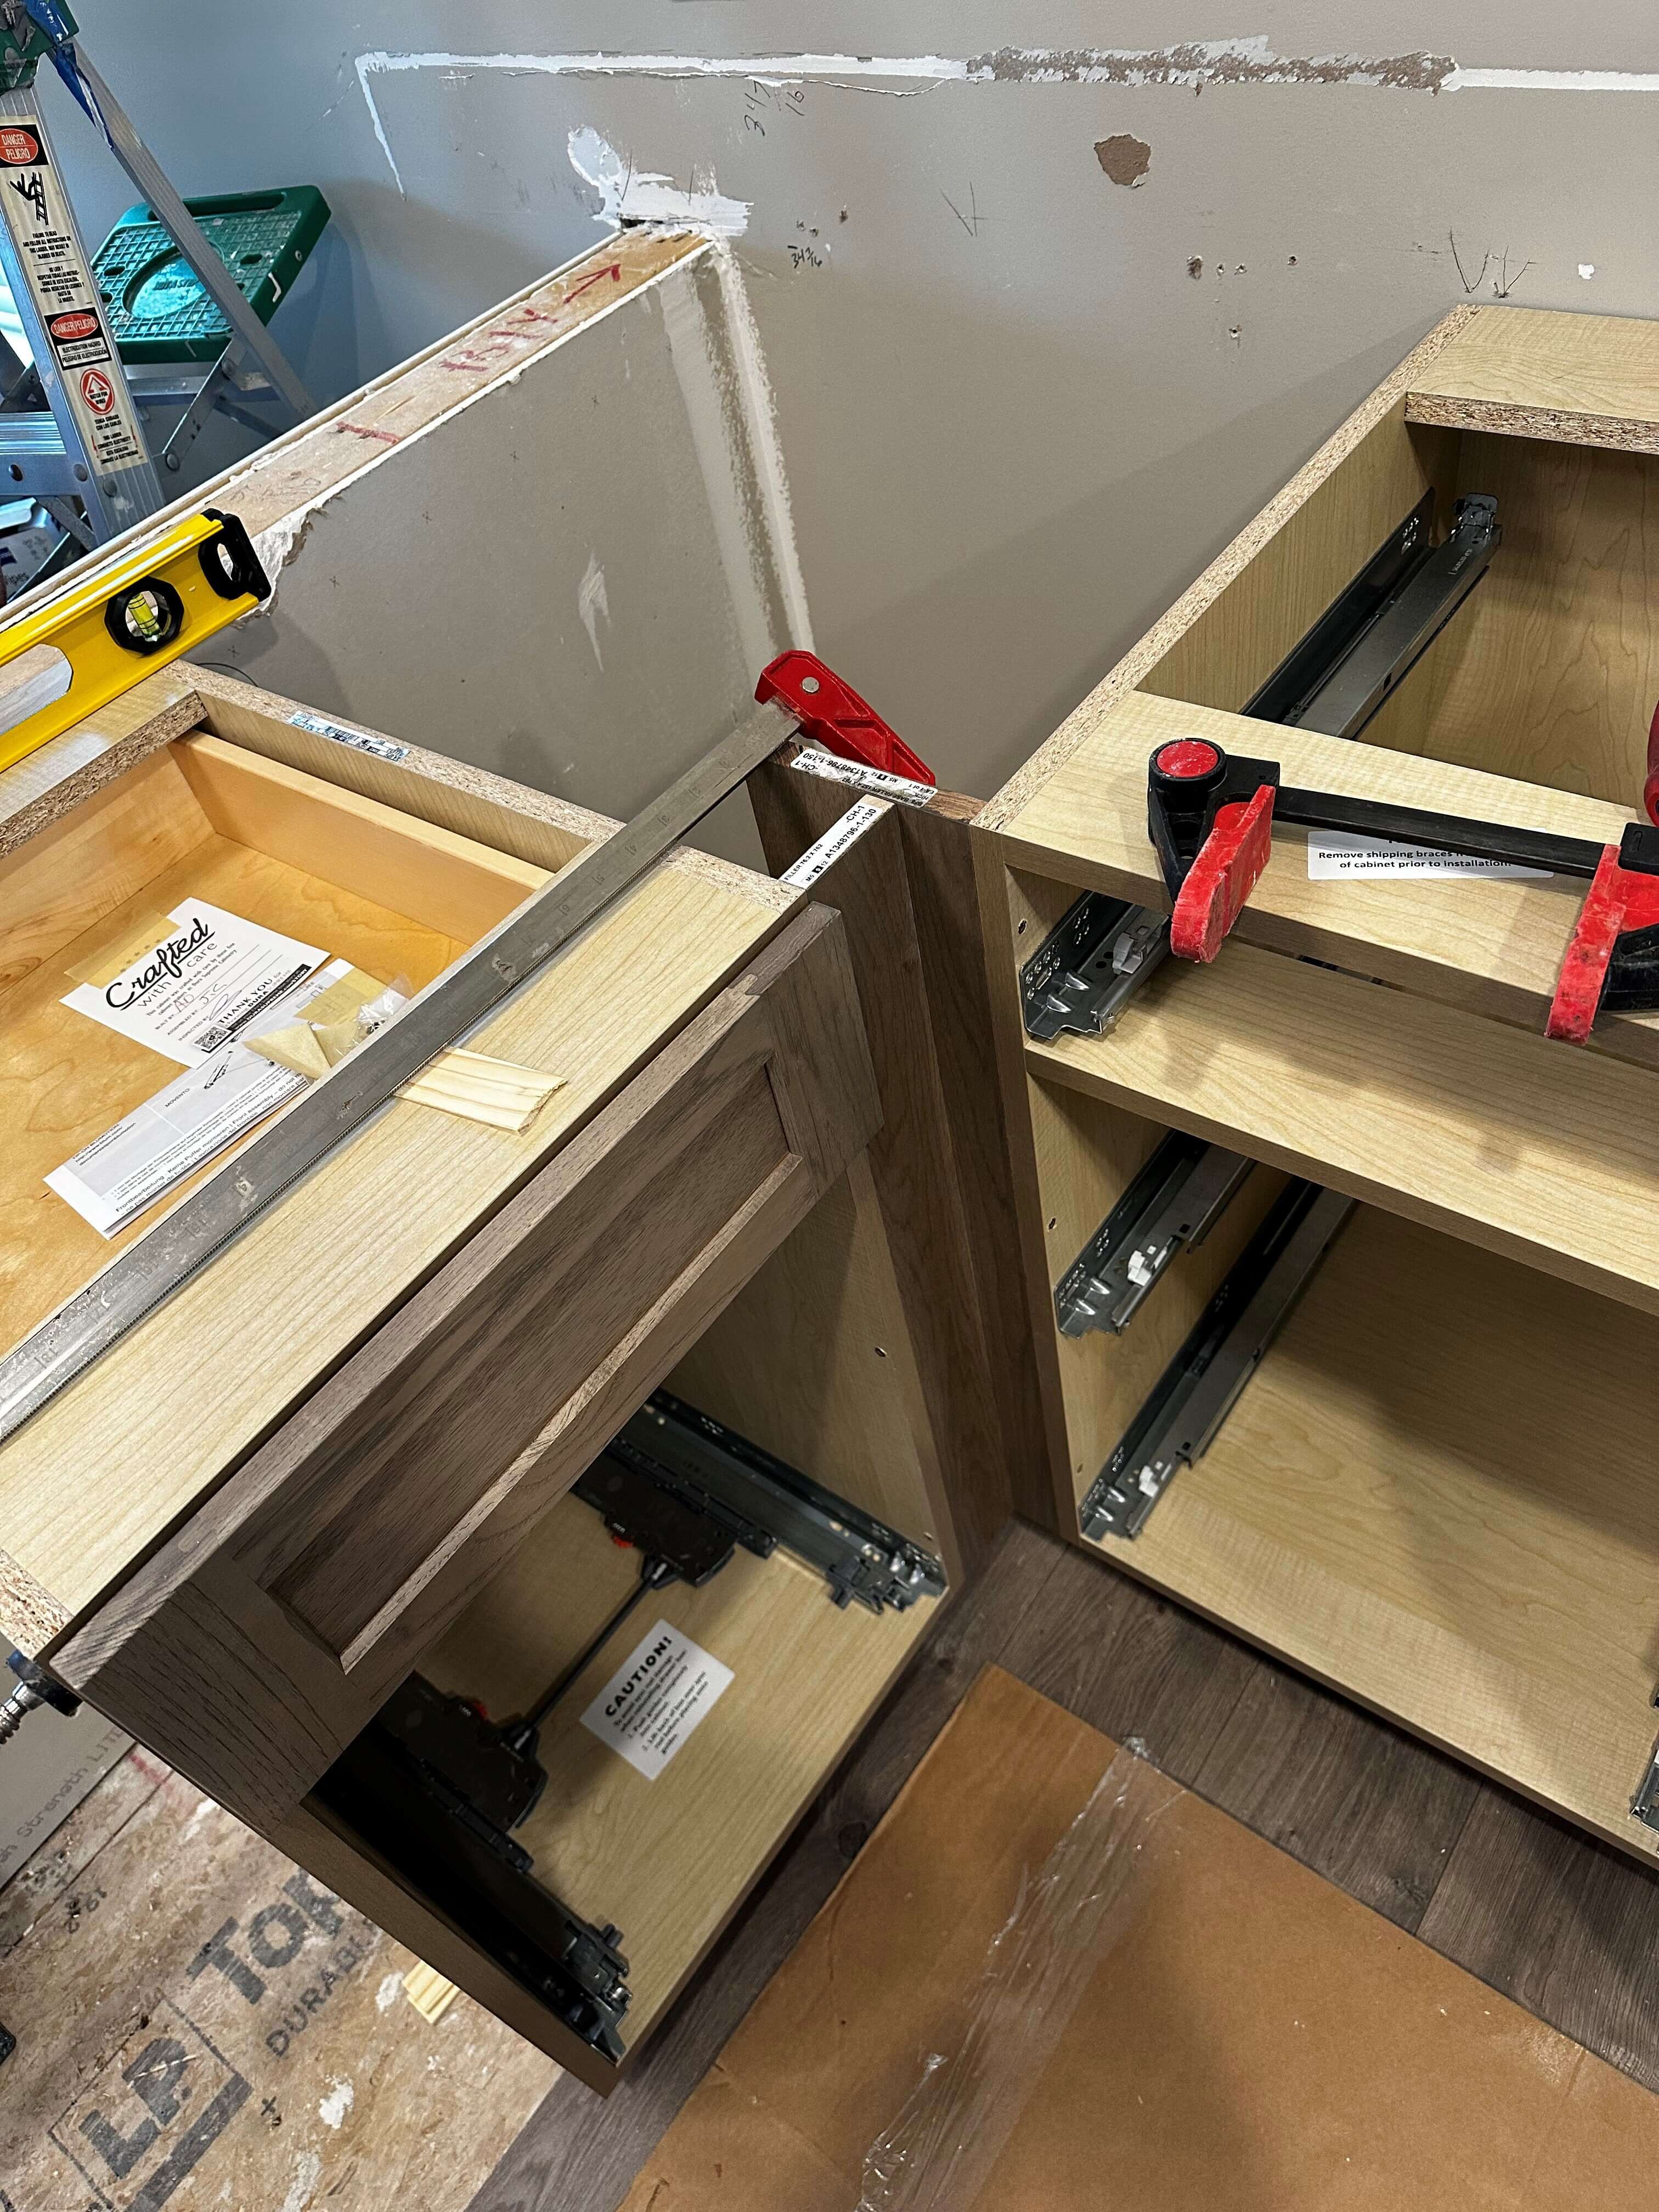
Once that wall was completed we moved on to the sink and range wall, starting in the corner first. It was a dead corner so having the proper size fillers to ensure the drawers of each adjacent cabinet would open without hitting each other was crucial. We had just the weekend to get all the bases in due to the countertop measurement being scheduled that coming Monday. Nothing like cutting it short!
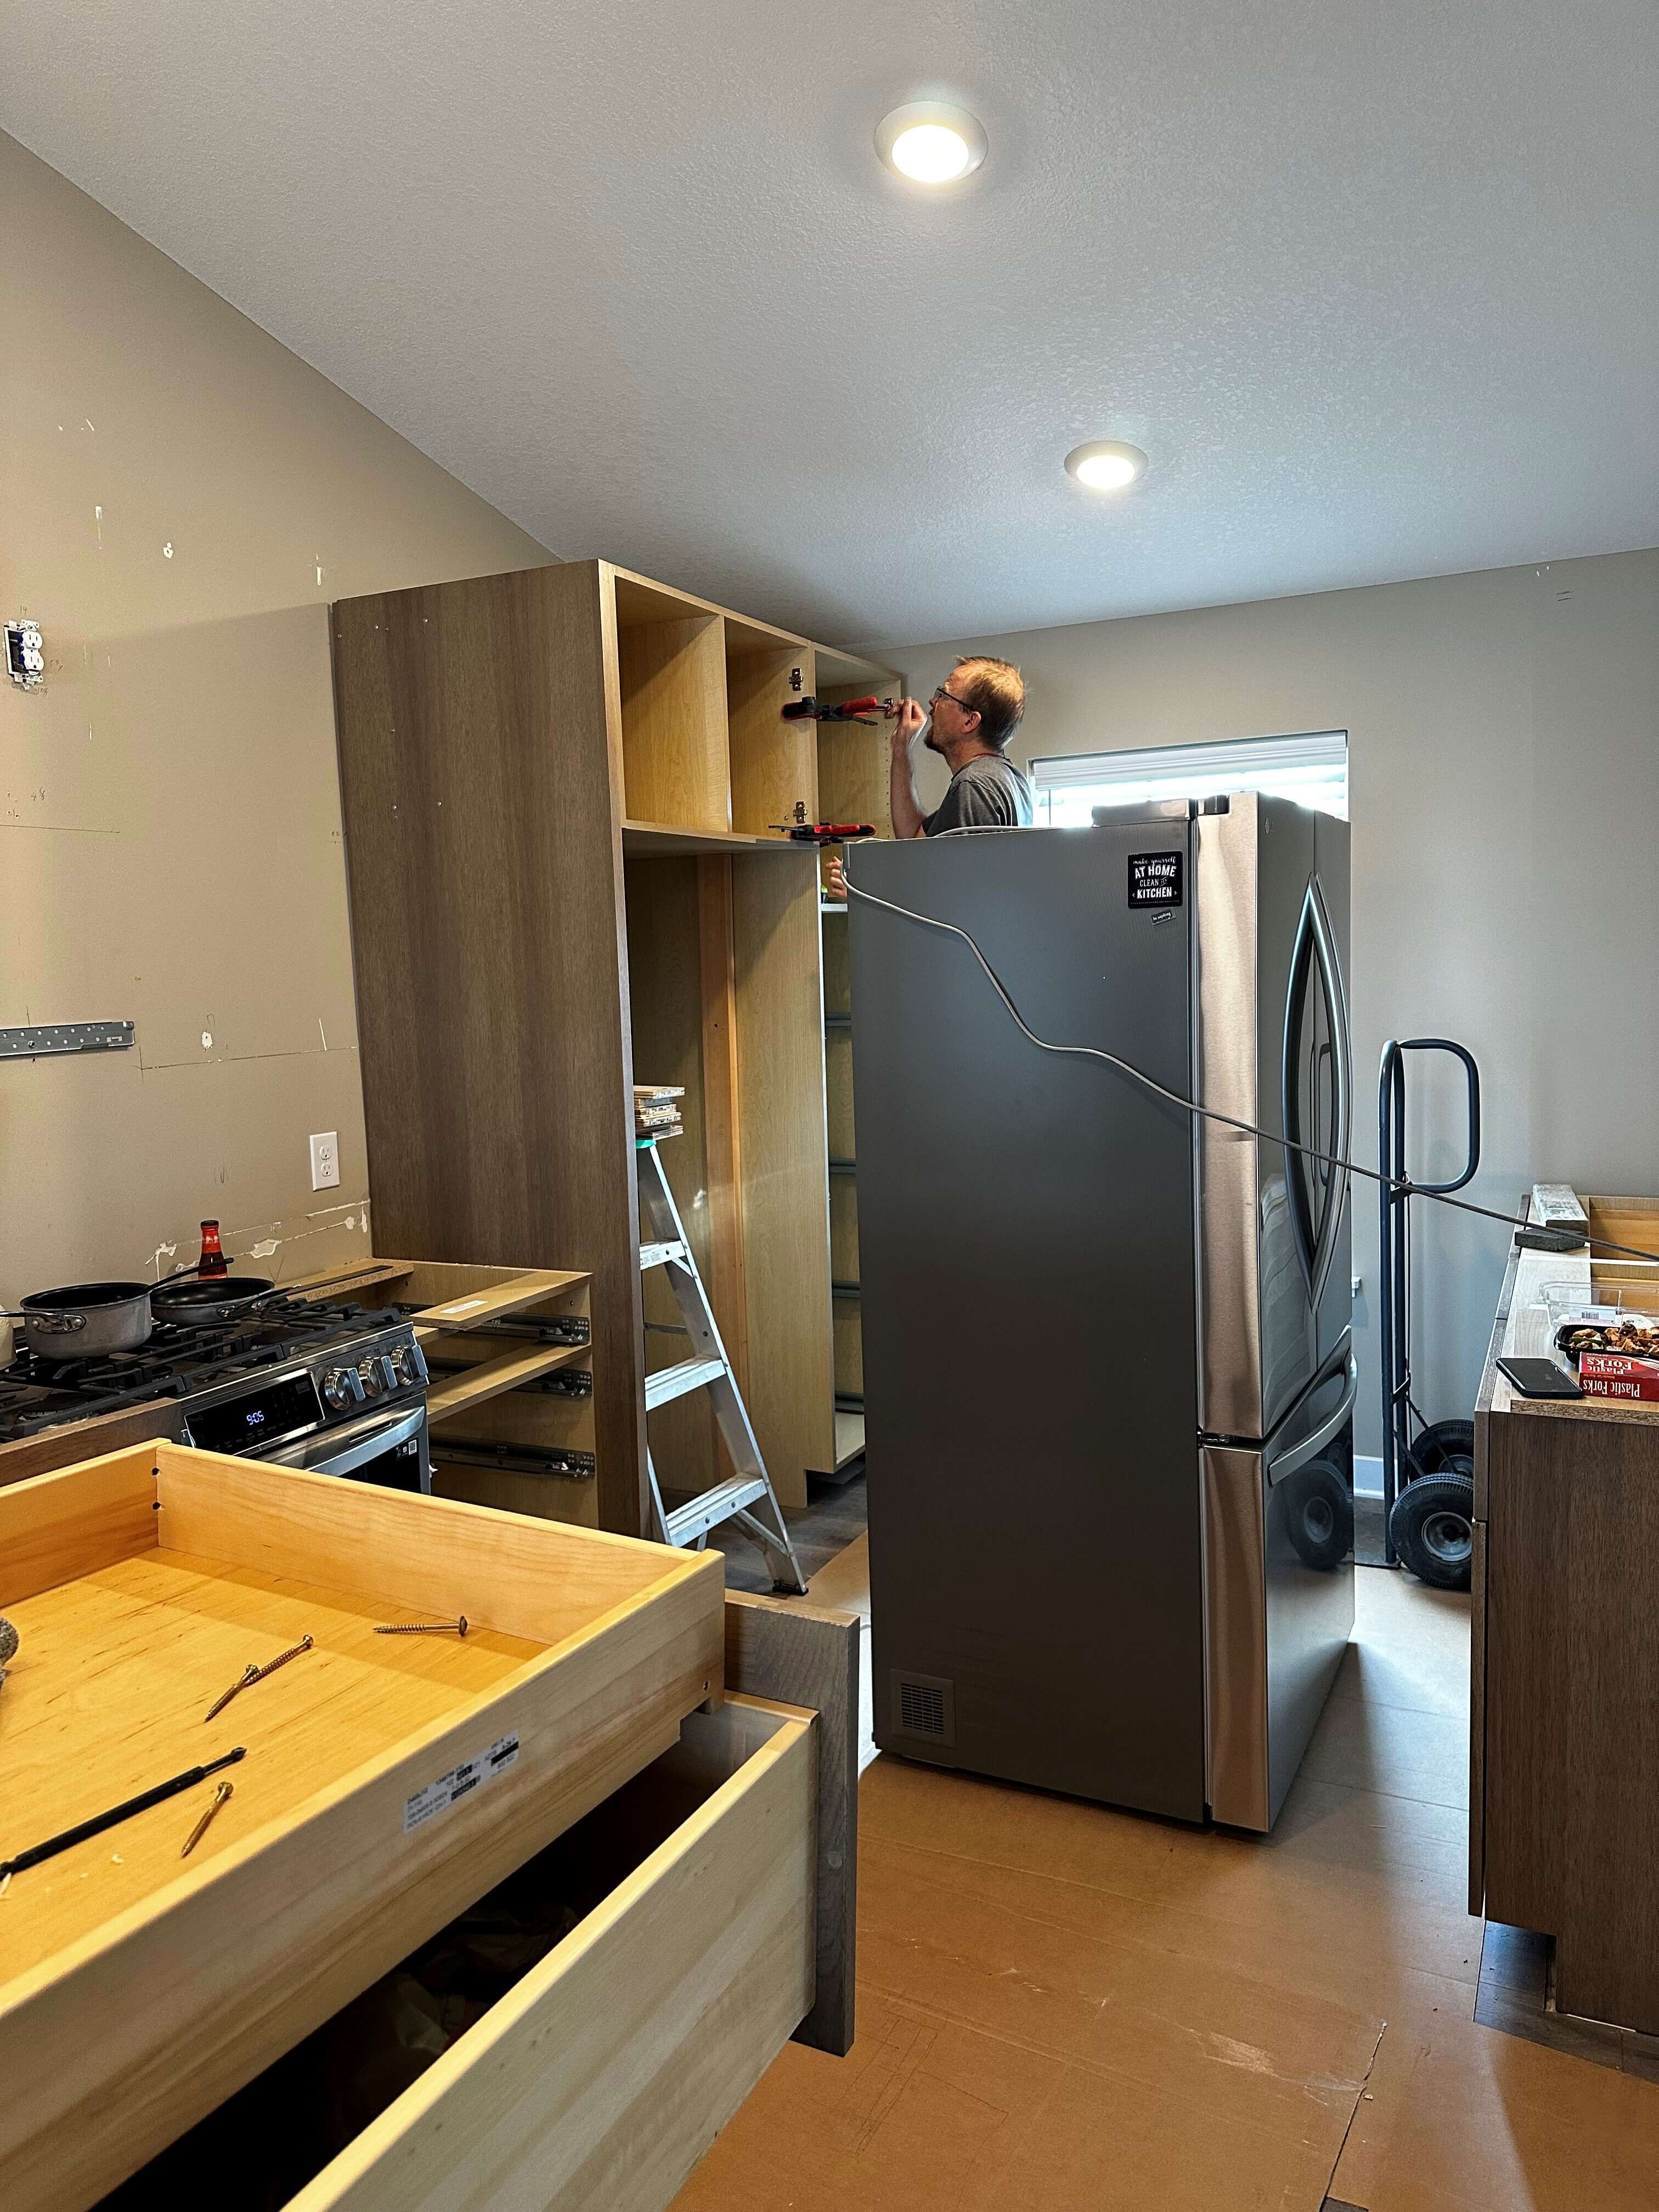
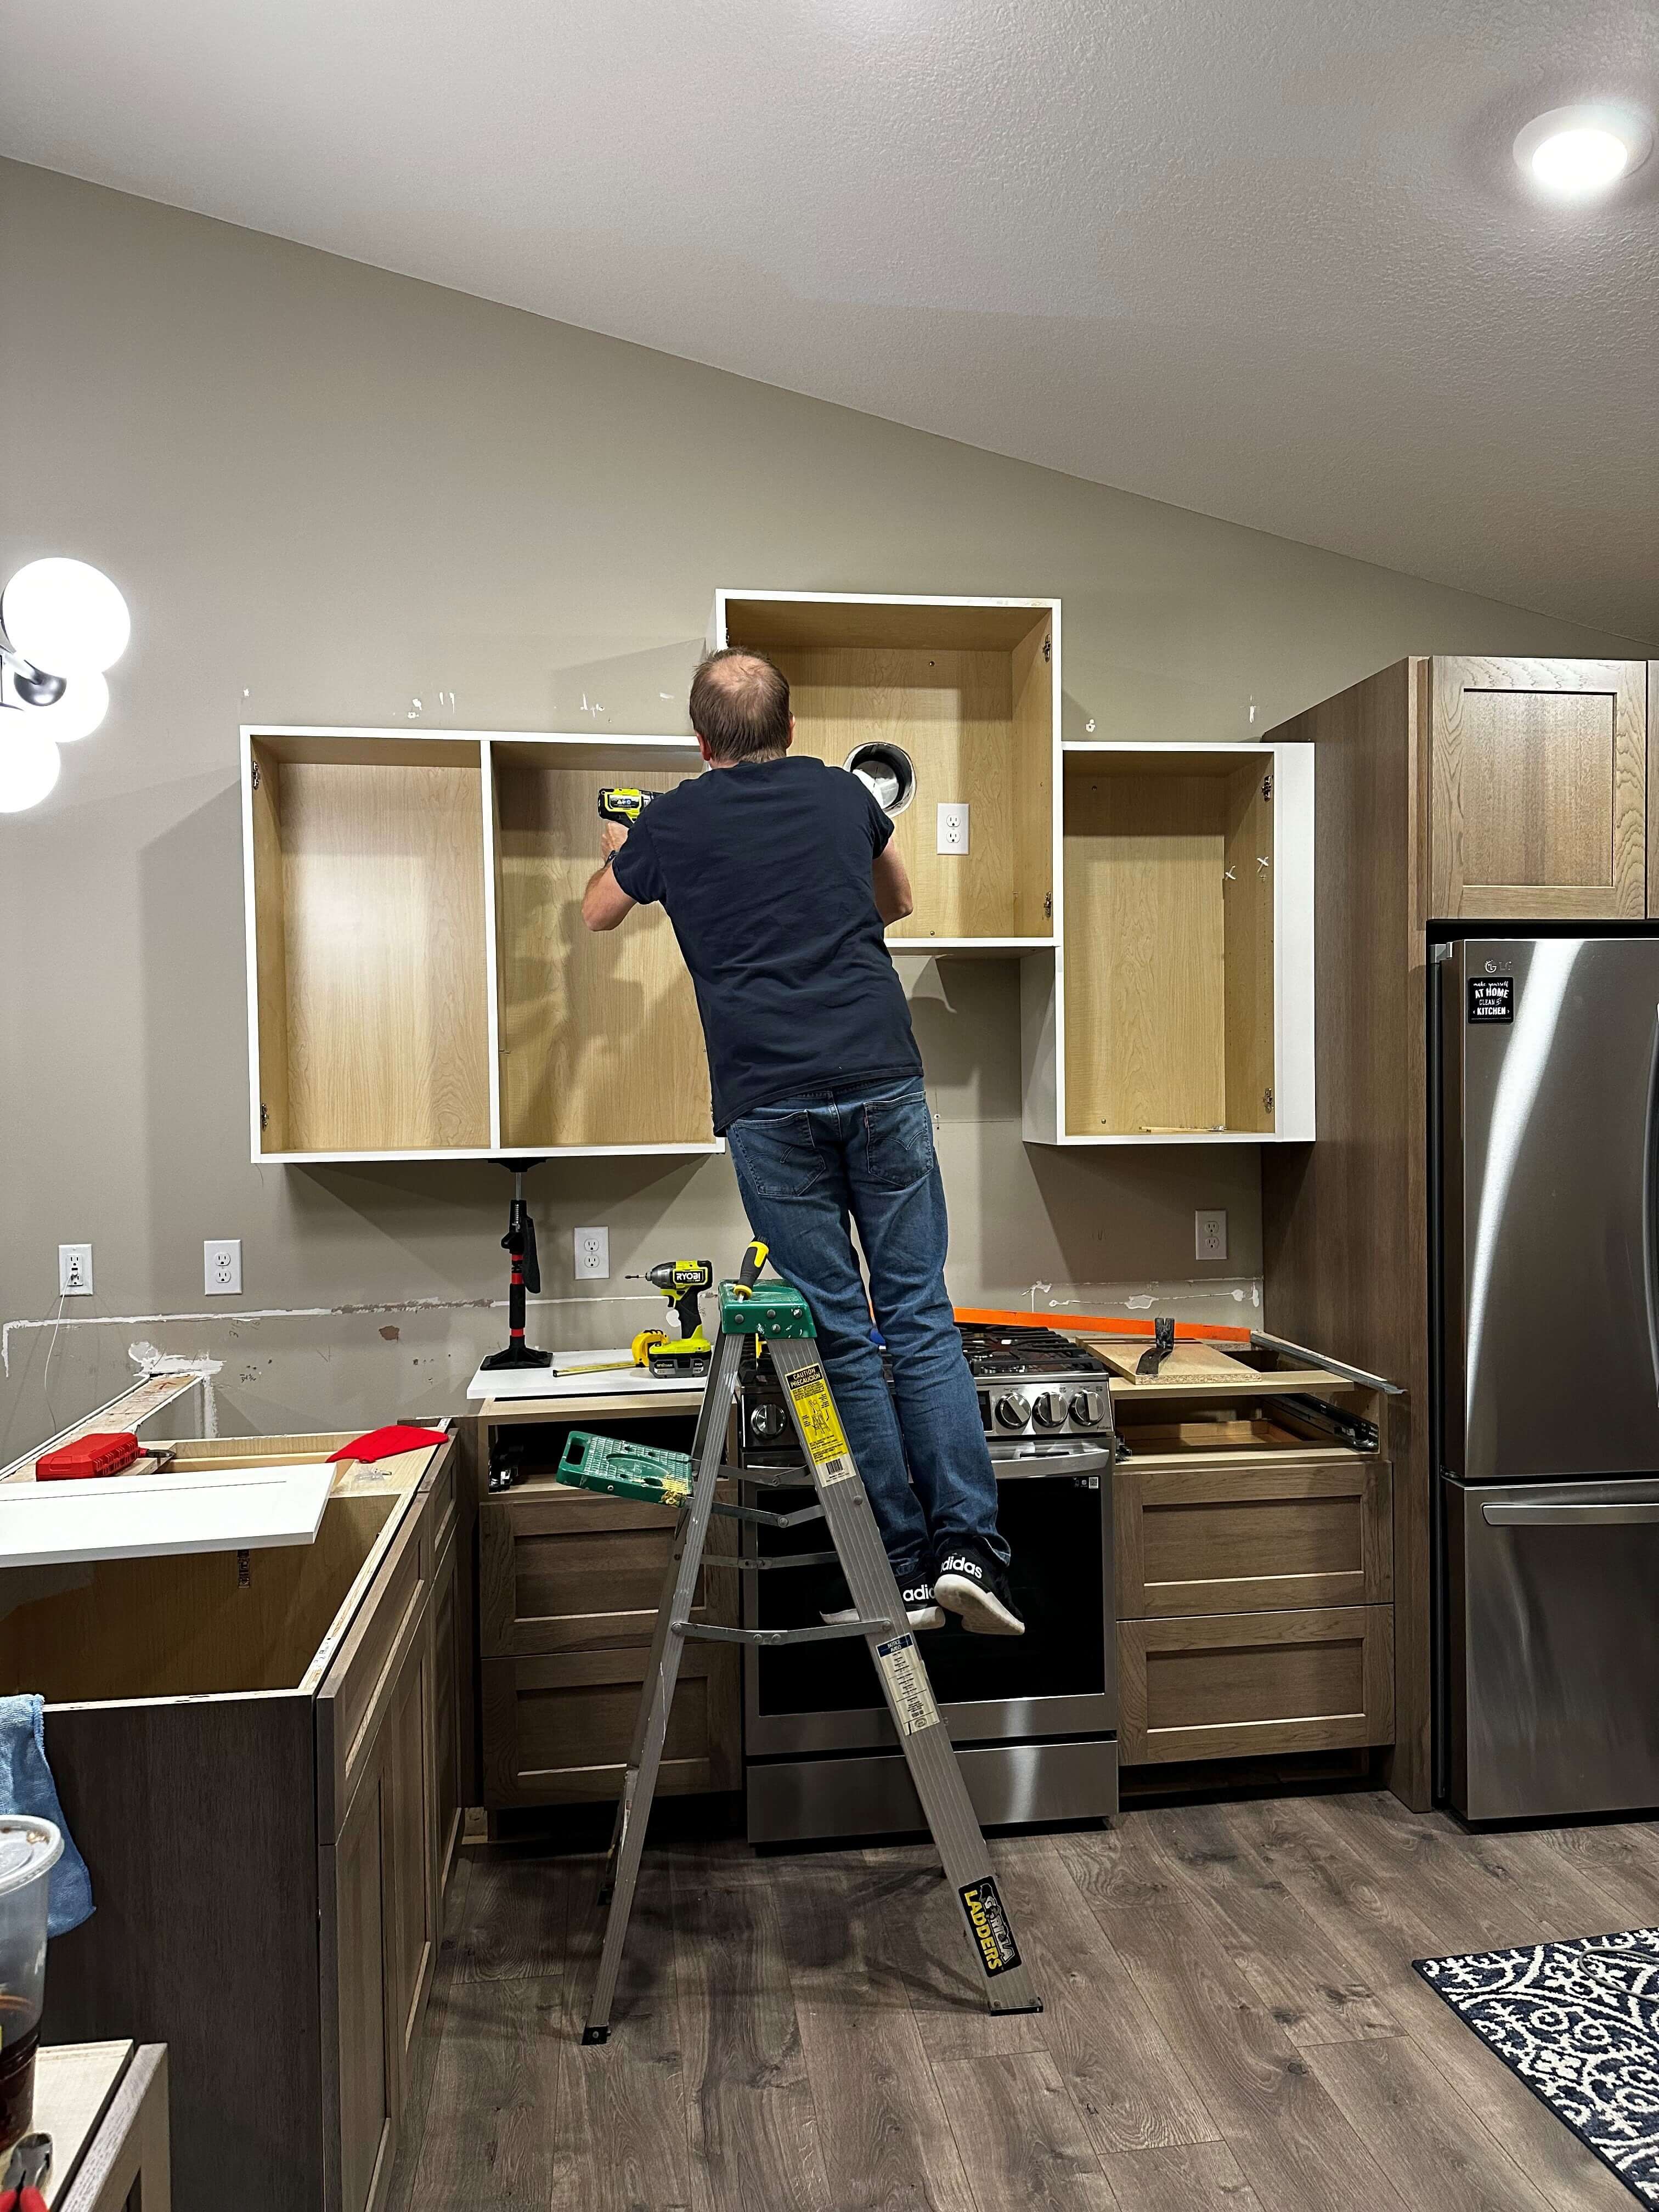
Once all the base cabinets went in and the measure for granite was completed we installed the wall cabinets on the range wall. The short wall would have to wait until after the tops went in due to the appliance garage. Typically wall cabinets go in first as it’s easier when the base cabinets are not in the way, but since I was offsetting the wall cabinets 3″ due to the color difference, we set them after the tall cabinets were in place for a perfect 3″ offset. Due to the placement of the venting for the microwave hood, that wall cabinet needed to be set higher. Not my ideal situation as I prefer wall cabinets that are all the same height, but I had to work with what I had.
At this time I started to really freak out about my countertops. Were they going to be too dark? Did I make a huge mistake by going with something that was almost black? I was going with black cabinet hardware, and the light fixture was black, and there were dark colors in the flooring. I should have gone with my first love the Calacatta Villa! OMG! Is it too late to change my mind whatamigoingtodooooo????
Even though I had looked at 100 different pics of light brown stained cabinets with both light and dark countertops, and my honey told me it would be great, I still had doubts about my decision and felt in my heart I should have gone with my first love.
The countertop arrived 10 days after the measure. I stayed sequestered in my home office while the installers did their thing; not only to stay out of their way, but to keep from freaking out. I came down as they were seaming the larger slab. I took a quick pic and realized my worry was in vain. It was looking great! When they were completed I inspected their work and had the biggest grin on my face! The guy looked at me and asked “Do you like it?” to which I responded, “I love it!” And I did! They looked so beautiful and the contrast was just what the space needed.
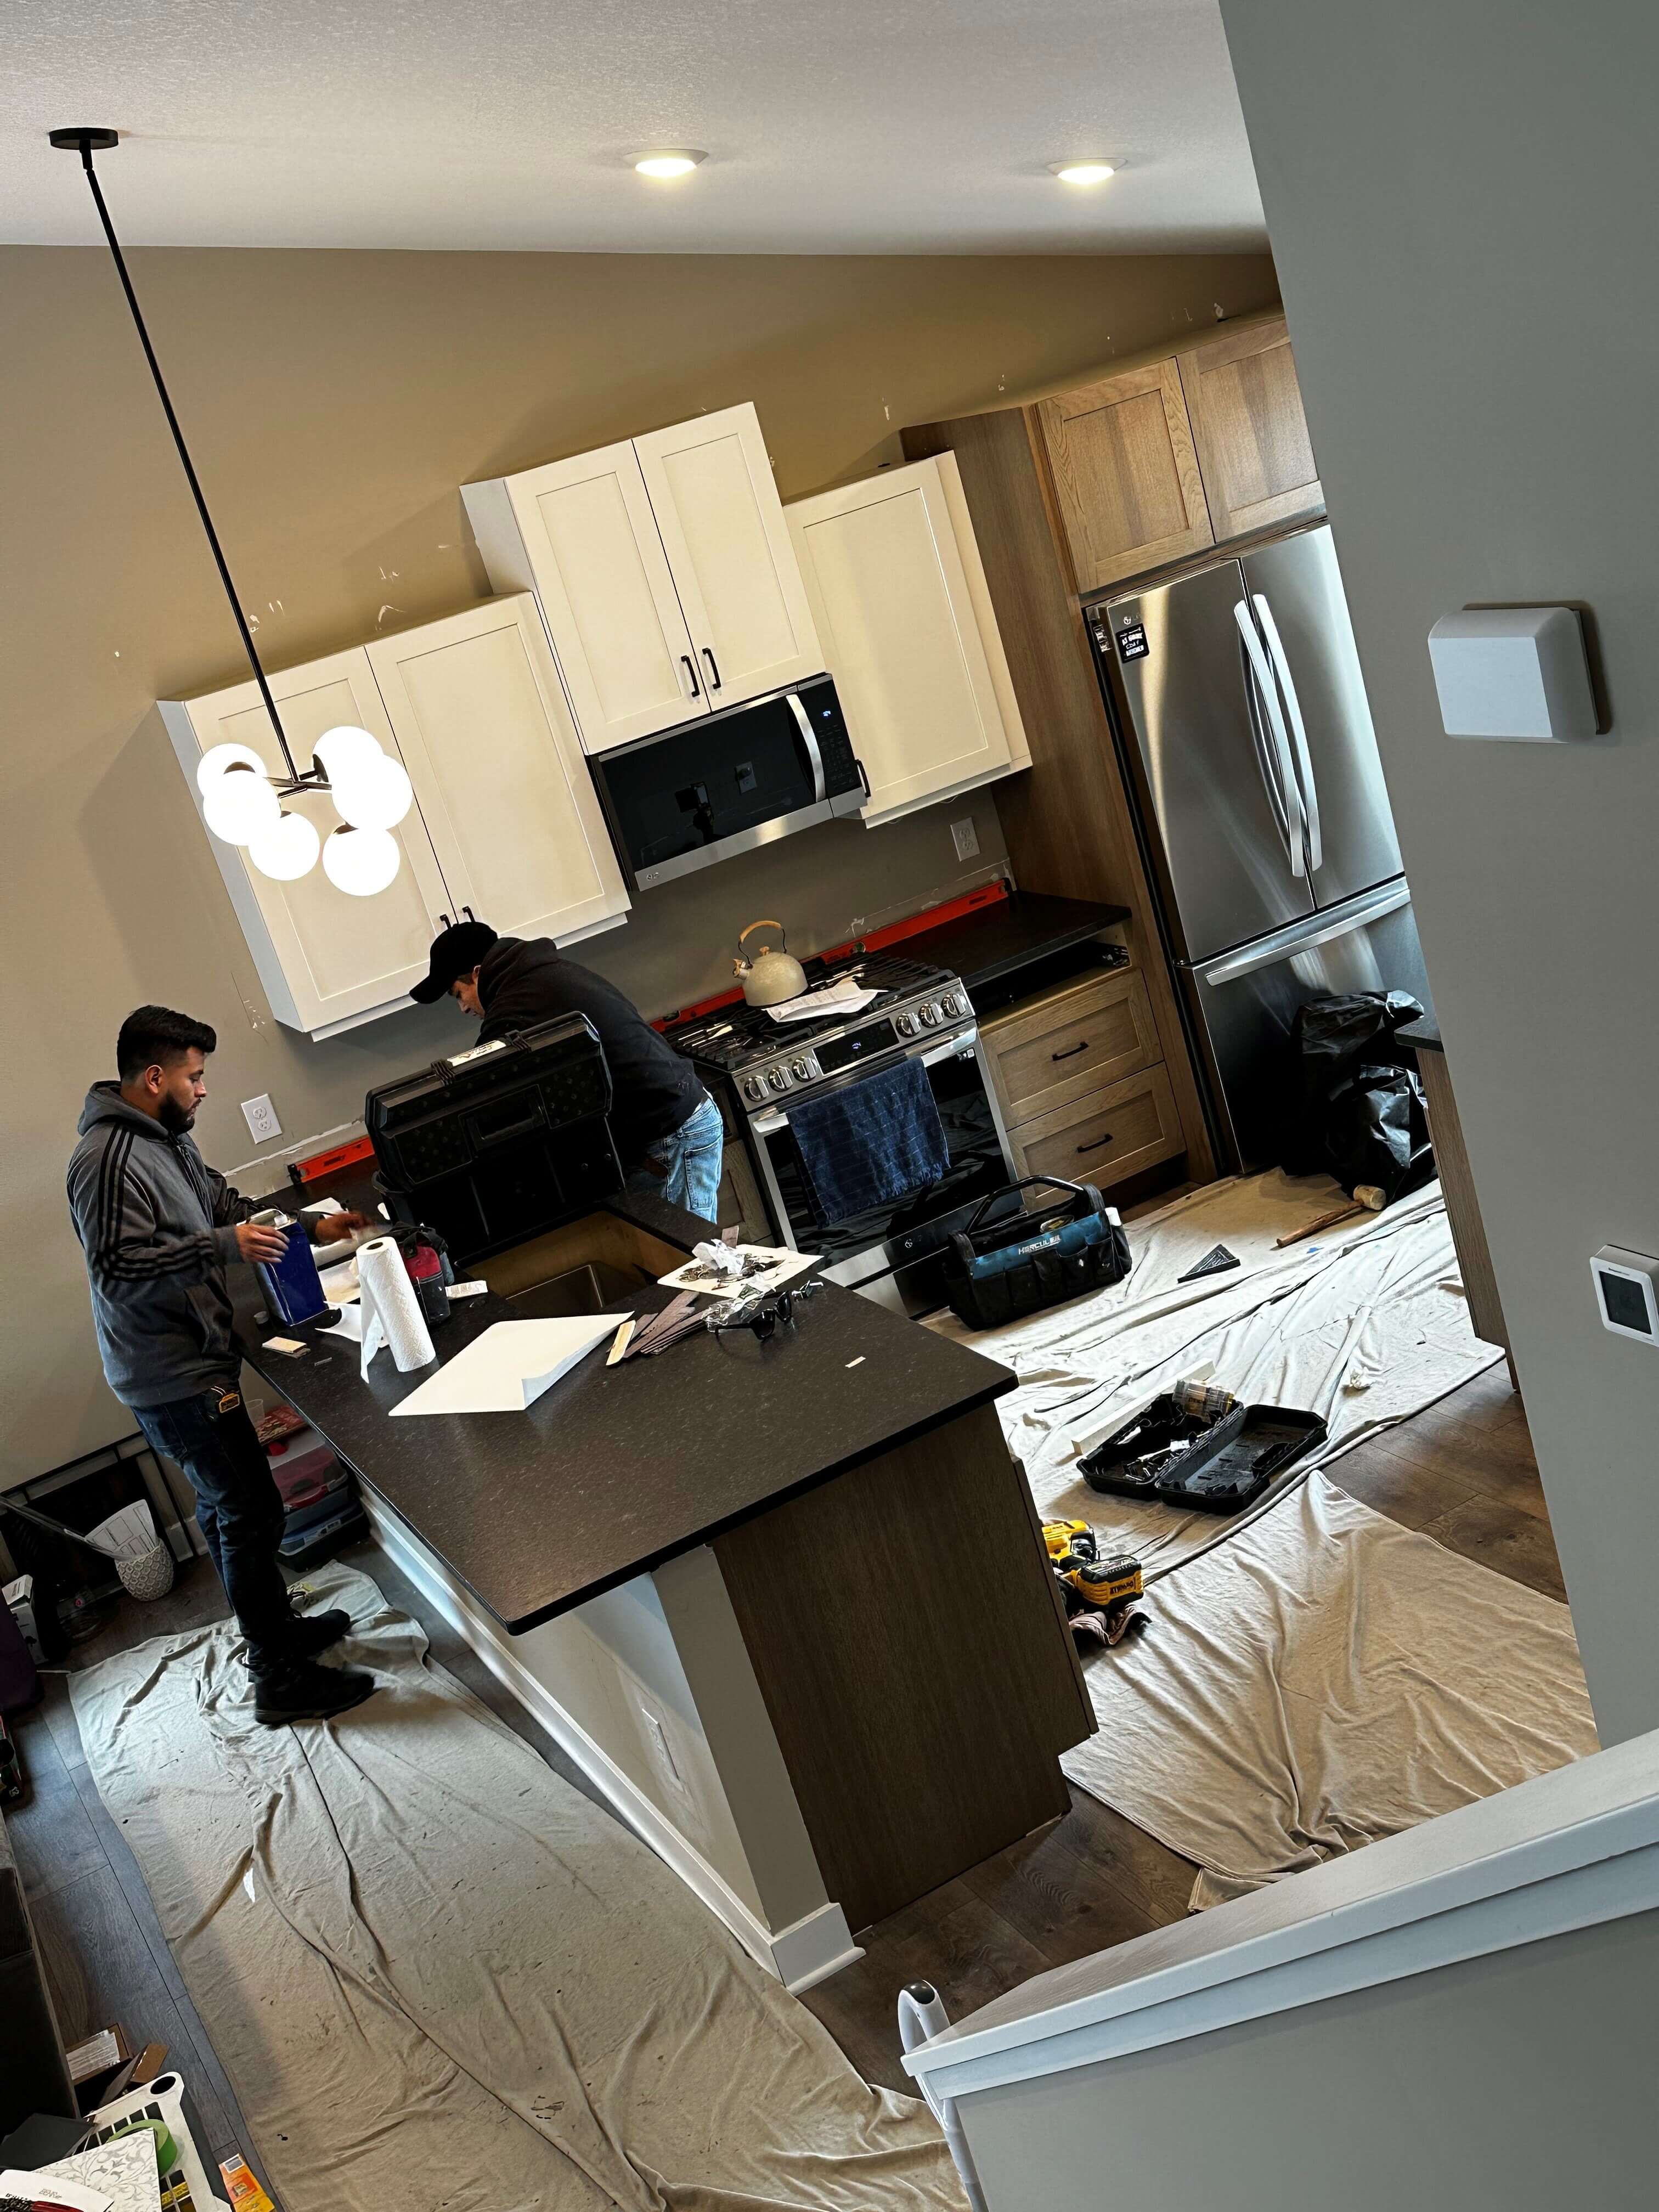
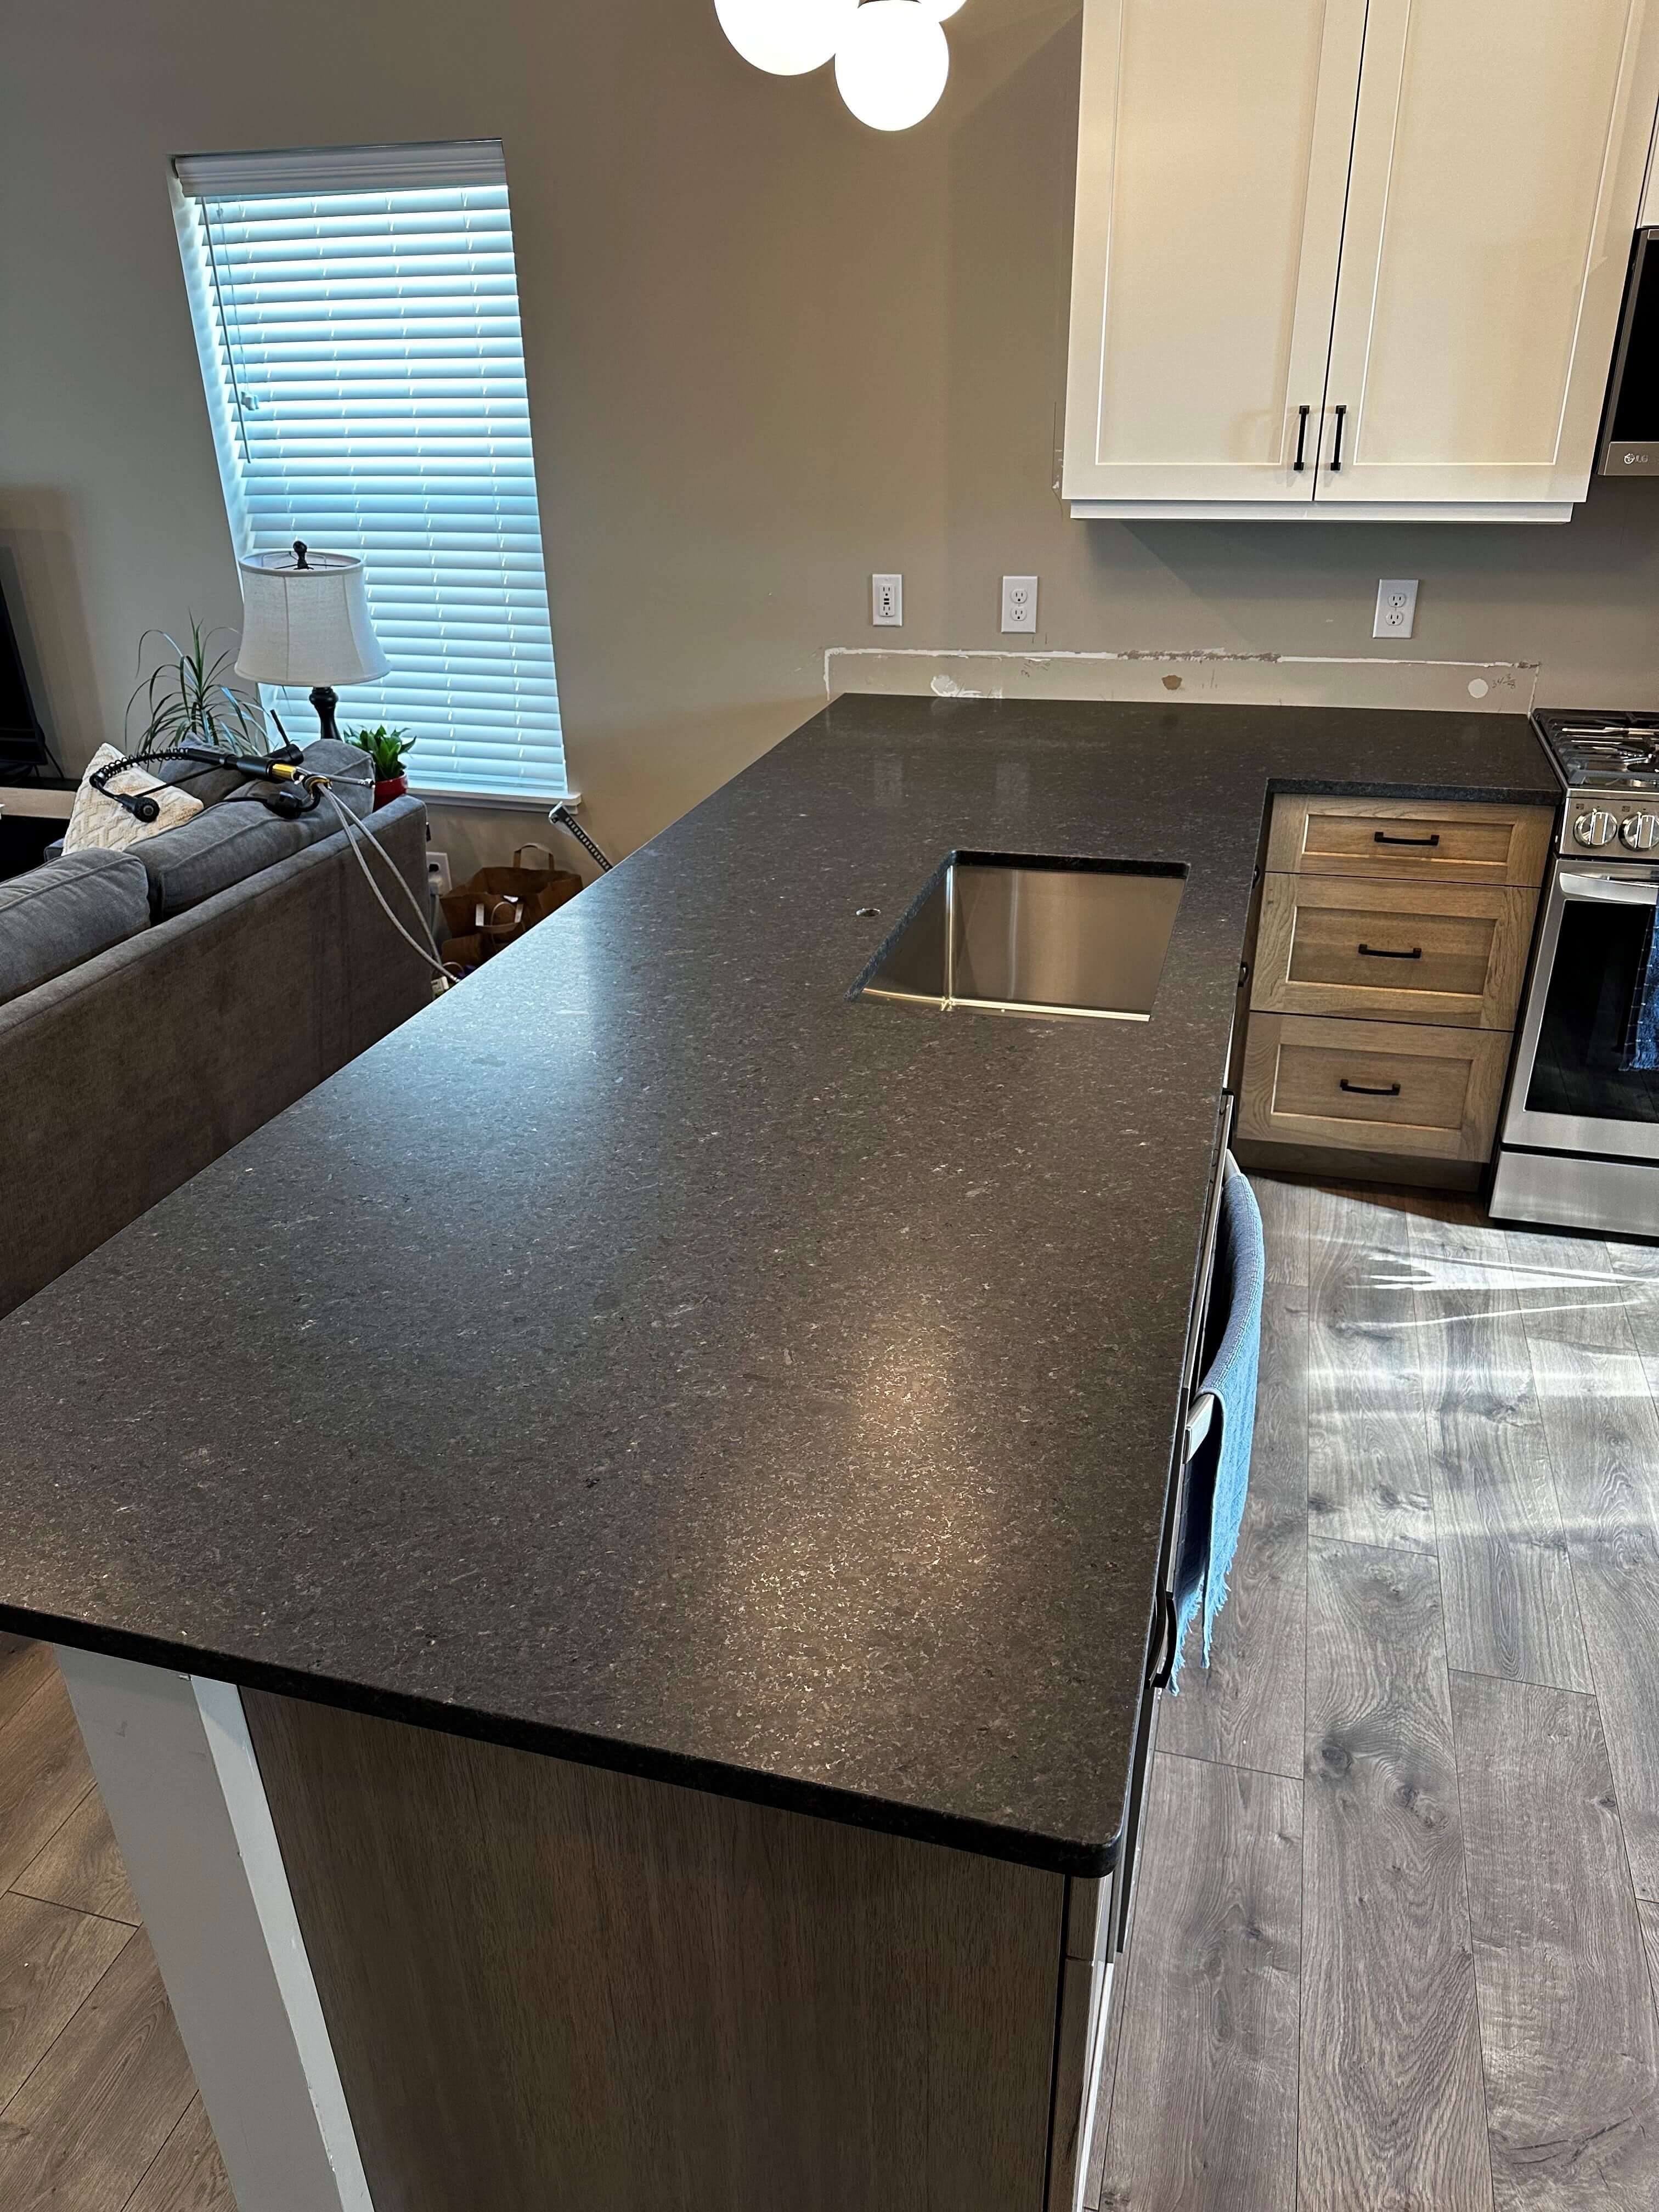
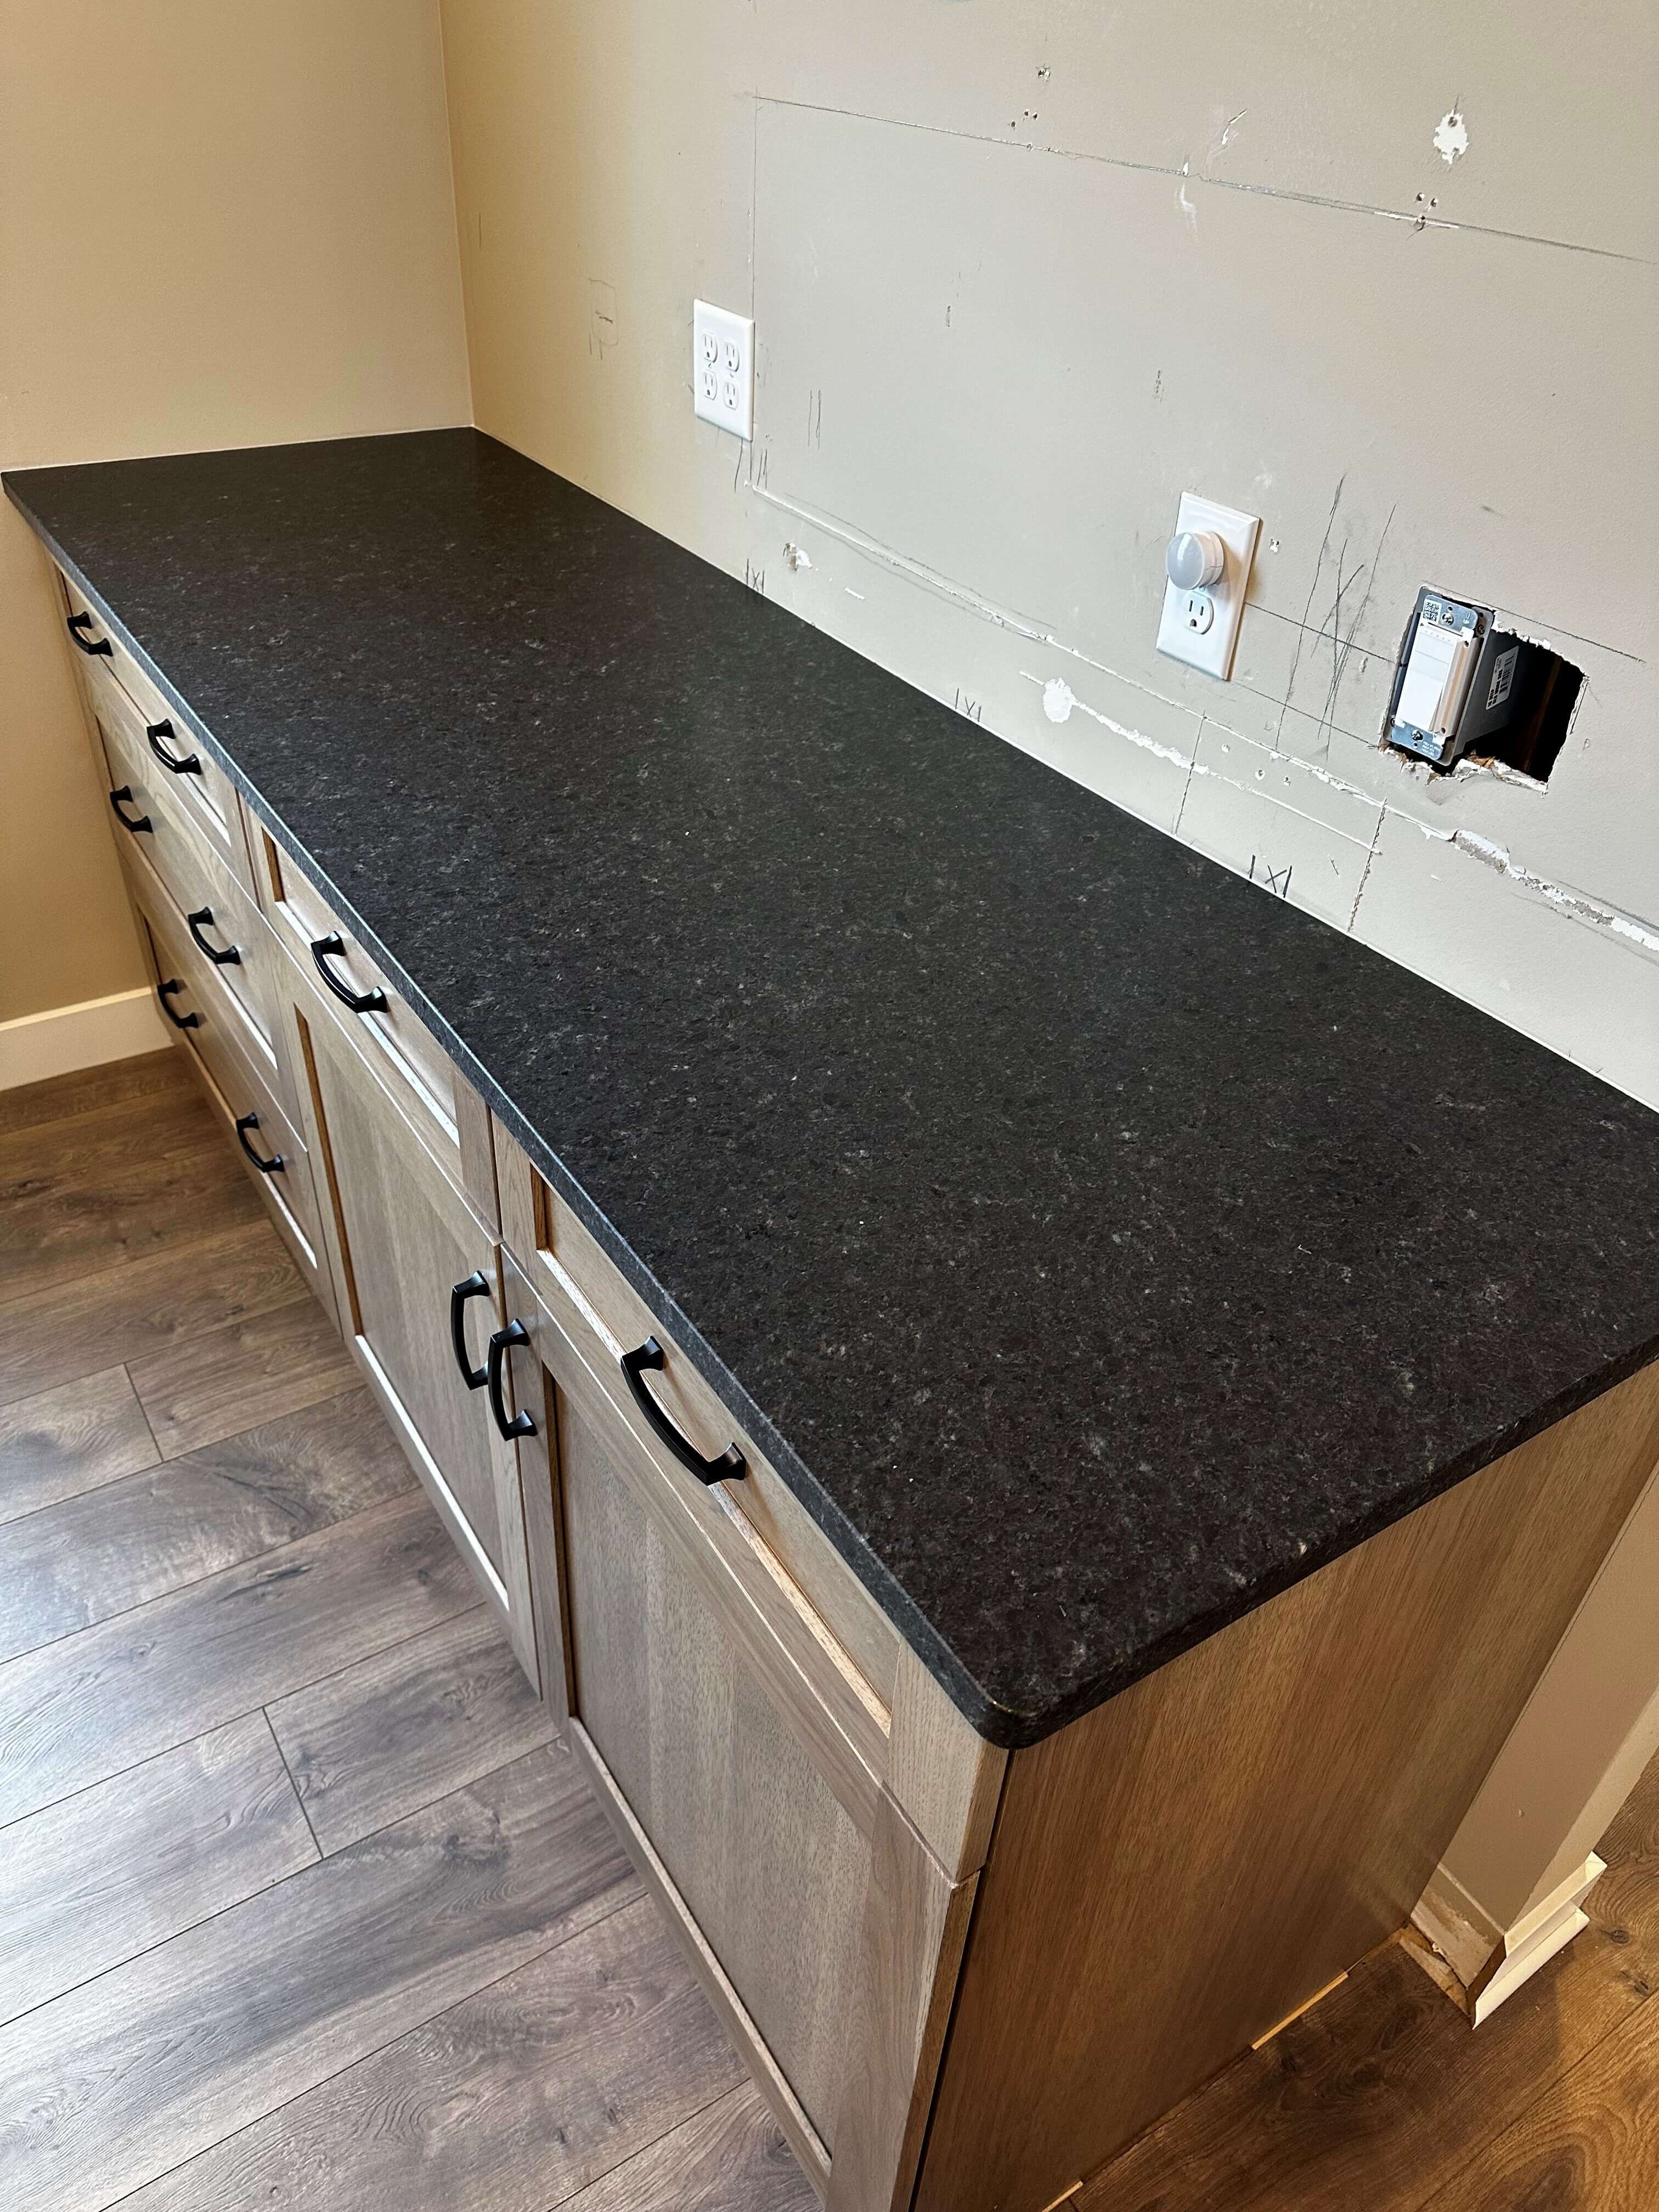
With the countertops in we could finish up the wall cabinets on the shorter wall and begin work on the crown molding and light rail molding. I also needed to finalize what I wanted to do for the backsplash, another agonizing process for me in this journey. Alas, though, I’m going to save that for my next blog, where I will reveal the final design with you, talk about the products used, as well as share some lessons learned through this process. Part 2 will post on June 11 so I hope you stay tuned for it. Until then, be well!

